
Bridge Pose is a great way to counteract the high volume of sitting we all do in our daily lives. When you are sitting down, your hips are in flexion (the hip flexor muscles are shortened). This creates a variety of issues for your hips and back.
One solution to this problem is to open up the fronts of the hips (move these muscles into extension in order to lengthen them). Setu Bandha Sarvangasana offers a wonderful opportunity to stretch the hip flexors, strengthen the upper back, and open the chest. It is the perfect counter-modern-day-slump yoga pose!
Follow along with the free online yoga video tutorial below as YogaUOnline’s Jasmine Punzalan offers fantastic modifications to put your body in perfect alignment.
Benefits of Bridge Pose
Along with the benefits listed above, Setu Bandha Sarvangasana also does the following:
- Stretches the chest, neck, spine, and hips.
- Strengthens the back, buttocks, and hamstrings.
- Improves circulation of blood.
- Helps alleviate stress and mild depression.
- Calms the brain and central nervous system.
- Stimulates the lungs, thyroid glands, and abdominal organs.
- Improves digestion.
- Helps relieve symptoms of menopause
- Reduces backache and headache
- Relieves symptoms of asthma and high blood pressure
- Therapeutic for hypertension, osteoporosis, and sinusitis
Setu Bandha Sarvangasana (Bridge Pose): Tutorial Video
What you need:
- Yoga Mat
- Two Yoga Blocks
The Setup: What NOT To Do in Setu Bandha Sarvangasana
1. It is important when setting up for Bridge Pose that the feet stay under the knees, and that the knees don’t splay out to the side. Often times as people move into Setu Bandha Sarvangasana, they engage the glute muscles too much (they tend to squeeze their butt).
2. When you engage the glutes too much your legs open out to the side; this narrows the sacrum. It can be dangerous to do a backbend when your sacrum is in that narrowed position.
The Setup: What TO Do in Bridge Pose
3. Start by lying on your back on your mat, and bend your knees enough so the feet are flat on the ground. Your heels need to be close to your hips; with your arms laying down by your hips you should be able to touch the backs of your heels with your fingertips.
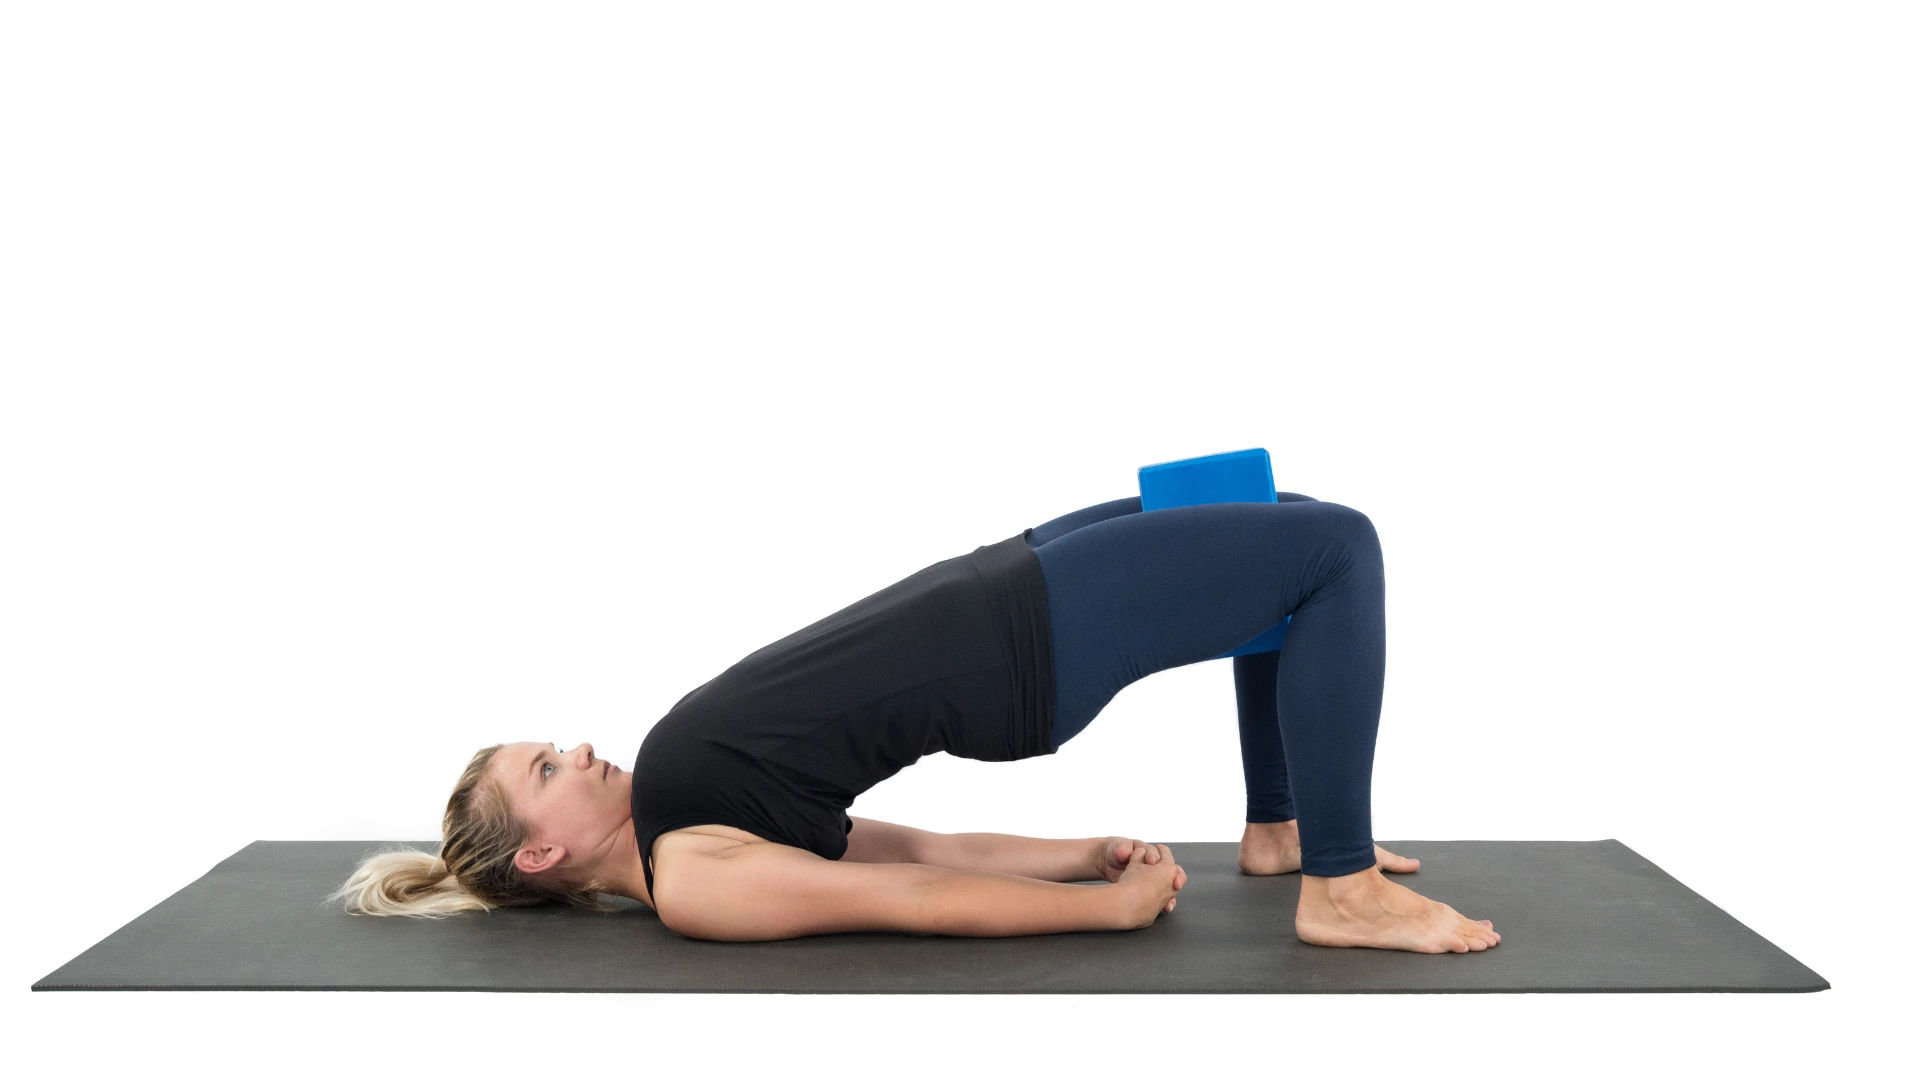
4. Place a block in between your feet in its flattest position and narrow so that it is long in between your feet. Your big toes will touch the block, but your heels will be slightly off of the block. This ensures your feet are truly parallel with the sides of the mat.
5. Now, you will place your second block in its narrowest position in between your legs (close to your knees). You may have to play around with the placement of the block here; it should keep your knees right over your ankles, not push them out to the side.
6. Now place your palms so they are facing the ceiling.
Moving Into Setu Bandha Sarvangasana
7. On an exhalation, press down into your feet.
8. On the next inhalation, lift your hips to the ceiling.
9. Press into the block with your legs, and make sure the knees are right over the heels.
10. Try to release the buttocks as much as possible and focus on engaging the hamstrings instead. To find the hamstring engagement, act as though you were going to draw your heels back towards your hips (without actually moving them). As you do this you should feel the backs of the legs activate.
Adding the Upper Body: Opening the Chest Further

11. Now that you are in Setu Bandha Sarvangasana, start to walk the shoulders closer together. Make sure your shoulders draw down away from the ears; just walk them toward the center of your mat.
12. Interlace your hands under your back. Make sure you don’t flatten out your neck; maintain the natural curve in your cervical spine.
13. Keep engaging the hamstrings by focusing on drawing the heels (isometrically) towards your hips.
14. Now lift your chest and sternum up towards your chin.
Moving Out of Bridge Pose
15. Take a few more inhalations at the peak of this asana. On an exhalation slowly lower your spine back down to the mat.
Rinse and Repeat
Take a moment to breath while resting on your back. Keep the blocks in place, and repeat the whole process again. Focus on lifting your hips even higher the second time around.
Like what you saw in this video? Watch the entire class when you join the YogaUOnline Practice Channel

