Peak Pose: Baddha Konasana

Article At A Glance
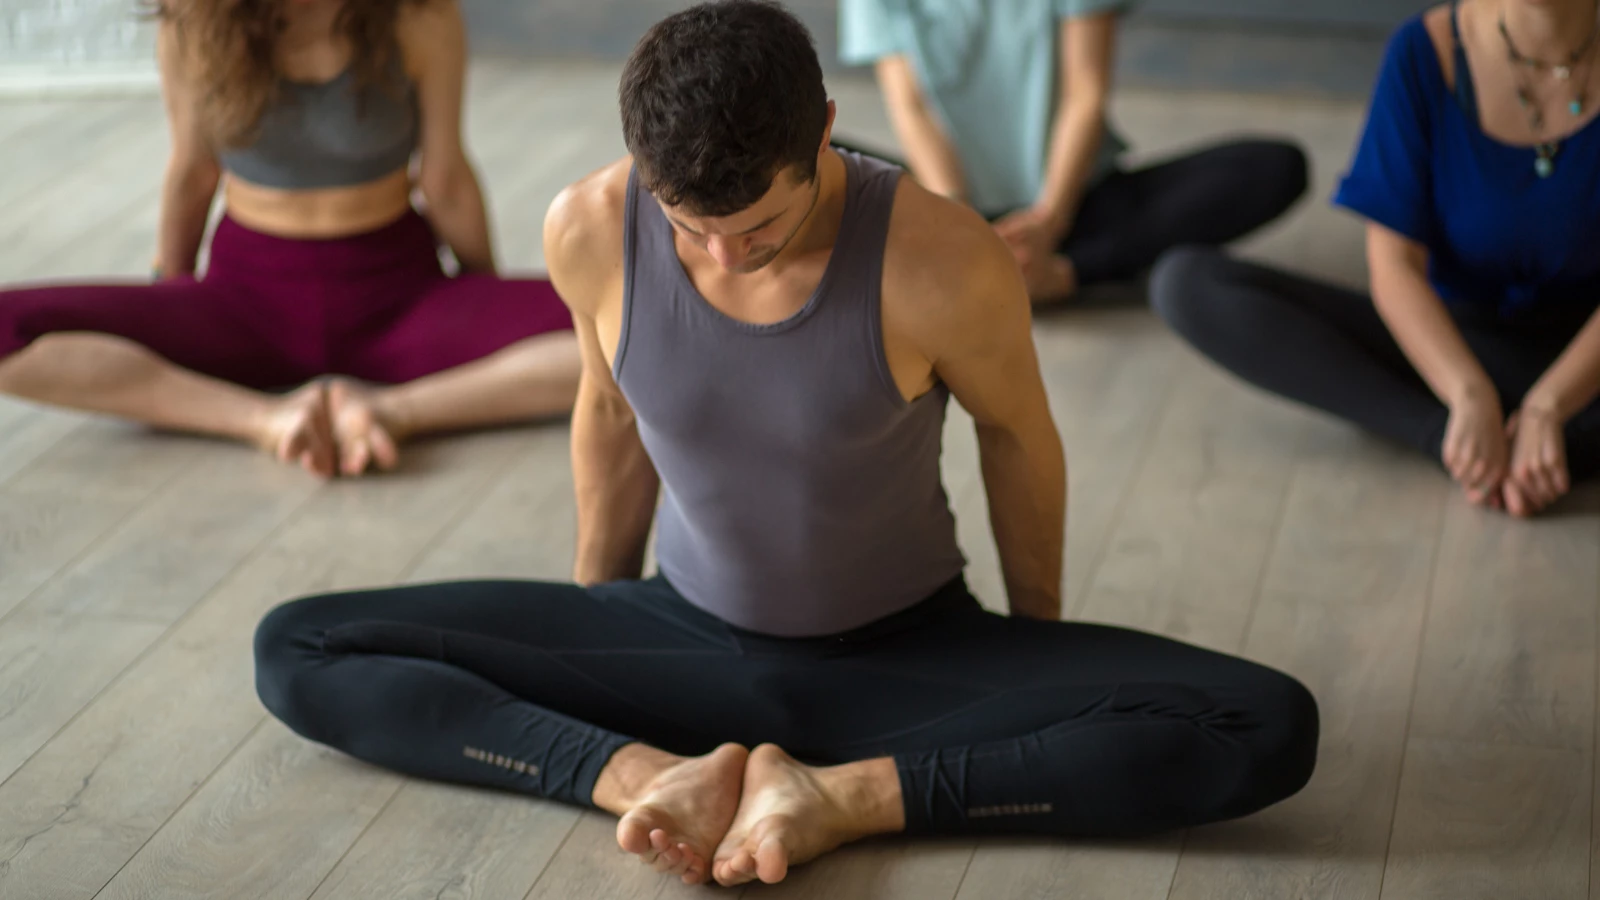
I like to sequence my asana classes in an arc. This means that we start slow, work up to more complicated poses, and then cool down to a long, luxurious Relaxation Pose (Savasana). We practice one or more “peak” poses in the middle of the practice. When we think of the concept of a peak pose, we often think of extreme backbends and arm balances—poses that are unattainable for most people because of skeletal restrictions. In truth, some of the most humble, pedestrian-seeming poses—seated forward bends—are actually more challenging than they appear. In this post, we’ll explore how to sequence a class to work toward Bound Angle Pose (Baddha Konasana) as a peak pose.
Baddha Konasana is Not So Simple
Baddha Konasana may look simple, but there’s actually a lot that needs to happen for our bodies to be able to practice it safely. First, we have to have a hip joint structure that allows for extreme external rotation and abduction. Stretching the obvious muscles—inner thighs, quadriceps, hips, and hamstrings—is helpful. But for a person whose hip sockets are placed more anteriorly, and especially if those sockets are deep, no amount of flexibility will allow the knees to reach the floor. The femurs will “hit” the edges of the hip sockets, preventing any further movement. Our bones always have the last say.
So it’s important to understand that getting the knees to the floor is not the point. The point is to find a sense of ease and balance in whatever pose you’re practicing, no matter what it looks like. Still, there are ways to increase the ease, even if your hip joints are not made for external rotation.
Use Props to Create Ease—No Matter What Your Pose Looks Like
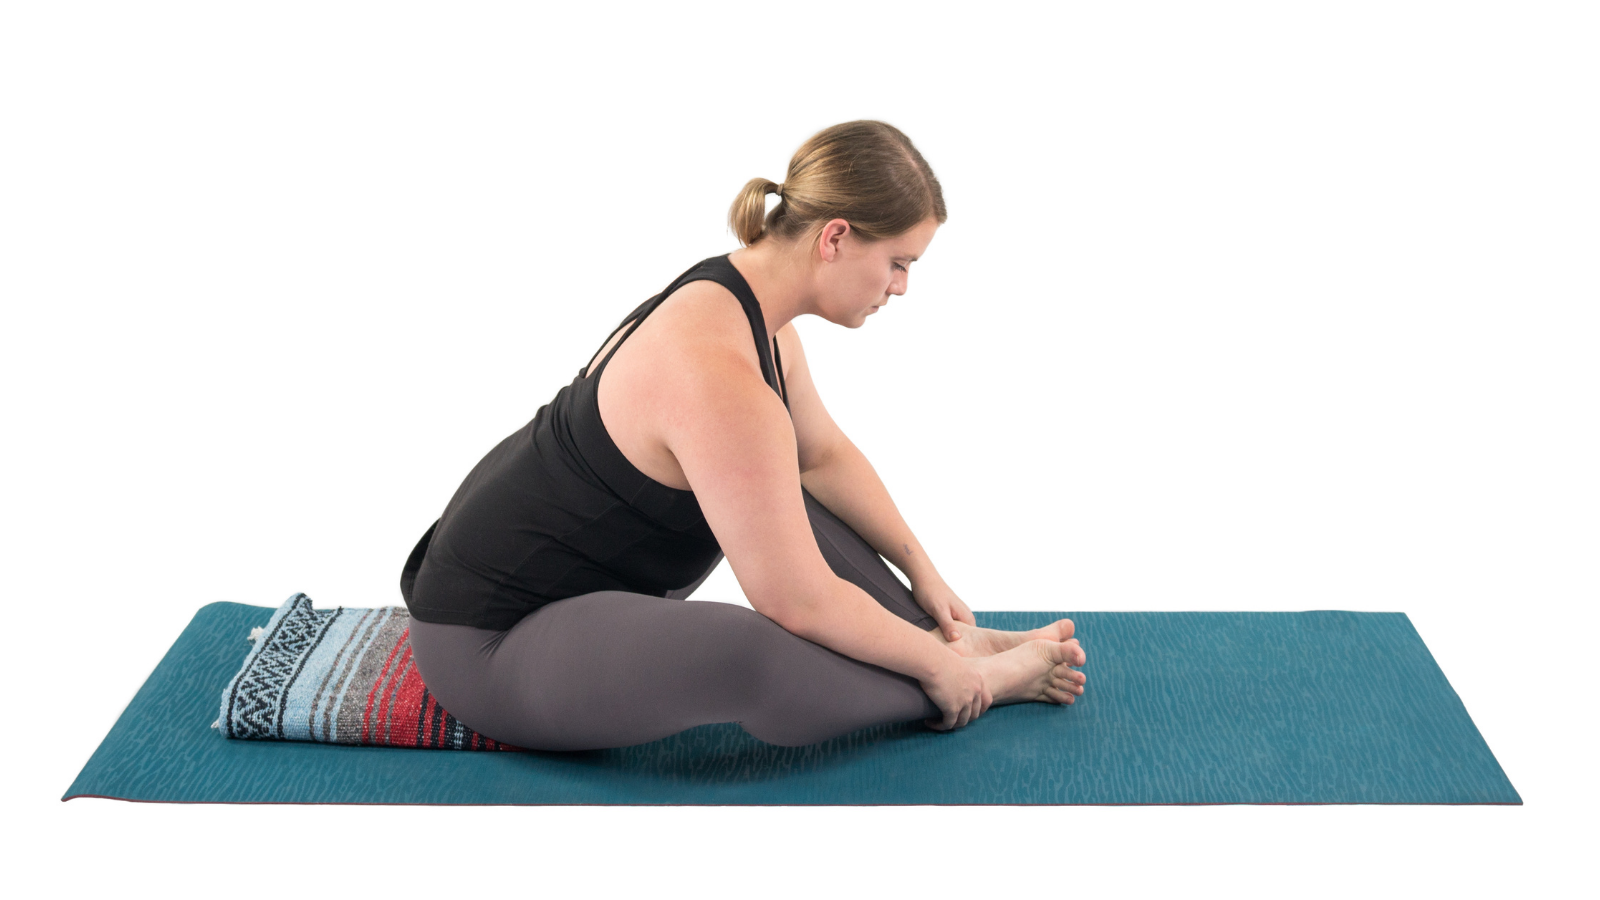
 If your knees are nowhere near the floor in this pose, it can be most helpful to focus on your spinal position instead of your thigh position. When your knees are higher than your anterior superior iliac spines (hip bones), it’s quite challenging to tilt the pelvis forward so that your spine can maintain its natural curves. If this is the case for you, sit on several folded yoga blankets, place your hands next to your hips and press down into your blankets to help tilt your pelvic rim forward. Unless you can bend forward by leading with the pelvis—not the waist—I wouldn’t recommend bending forward.
Skeletal Requirements for a Healthy Baddha Konasana
Here are the actions necessary for practicing a healthy Baddha Konasana:
- External rotation
- Abduction (thigh bone extends out from the center; this means that the adductors (inner thigh muscles) need to lengthen)
- Neutral spine (spinal curves are in their natural “S” shape)
How to Prepare for Baddha Konasana
In order to prepare the body for Baddha Konasana, we need to both warm and stretch the muscles that create these actions. Of course, there are lots of yoga poses that can be helpful. I offer some suggestions below, but it can be a fun exploration to consider poses in terms of these actions, and add your own ideas to the sequence.
- Wide-Legged Standing Forward Bend Pose (Prasarita Padottanasana): I love starting with standing poses because they strengthen (warm) and stretch the leg muscles simultaneously. This particular pose focuses on the inner thighs and hamstrings. When you practice, engage the inner thighs by drawing them up toward the hip joints.

- Warrior II Pose (Virabhadrasana II): Warrior poses are strong, warming poses. Warrior II, in particular, supports abduction in both legs and external rotation in the bent leg.
- Triangle Pose (Trikonasana): Like Warrior II, Trikonasana supports abduction and external rotation, but it also adds hamstring stretching to the mix.
- Half Moon Pose (Ardha Chandrasana): Ardha Chandrasana supports external rotation and abduction, and further stretches the hamstrings. It also warms the muscles of the standing leg.
- Extended Hand-to-Big-Toe Pose (Utthita Hasta Padangusthasana): If you look at this pose, you can see that it’s essentially the same shape as Ardha Chandrasana and Supta Padangusthasana, but with a different orientation to gravity. It further warms the muscles of the standing leg and supports abduction and external rotation.
- Half Hero Pose (Ardha Virasana): Now that you’ve warmed up your leg muscles, you can begin to focus on stretching. I like to start with the quadriceps. Of course, if your knee feels uncomfortable in this pose, please modify, or skip it. The quads should already be pretty warmed up after all the standing poses, so it’s okay to skip this if it’s problematic for your knees.
- Reclining Hand-to-Big-Toe Pose (Supta Padangusthasana): The first two variations of this pose (stretching the leg straight upward and stretching it out to the side), can help release the hamstrings and the adductors.

- Head-to-Knee Pose (Janu Sirsasana): In this pose, the bent knee is in Baddha Konasana position. It can be helpful to stretch the adductors one at a time in this position before attempting to stretch both simultaneously. Be sure to sit on plenty of support so that your pelvis can initiate the forward bend.
- Seated Angle Pose (Upavista Konasana): It should be obvious why this pose would be helpful for stretching the adductors. It also provides a bit more stretch for the hamstrings.
- Baddha Konasana (Bound Angle Pose): Finally! Time to practice the peak pose. Remember that getting your knees to the floor is not important. Instead, the most helpful action is to extend the inner thighs outward from the pelvis. As always, make sure you have enough support under your hips so that your spine can be in its natural curves.
- Paschimottanasana (Seated Forward Bend Pose): A relaxed Paschimottanasana will help you transition to an easeful Savasana.
Make the Sequence Your Own
If you are short on time, feel free to skip some of these poses. They’re all supportive of Baddha Konasana, but you don’t necessarily have to practice all of them to benefit.
Also, read...
4 Easy Ways to Use a Sandbag in Yoga Practice
Exercise and Longevity: Diversify Your Yoga Practice for Maximum Benefits
Glute Amnesia: Yoga for Your Forgotten Rear
Related courses
Breath as Medicine: Yogic Breathing for Vital Aging
Yoga and Myofascial Release: Releasing Chronic Tension with the Bodymind Ballwork Method

Charlotte Bell began practicing yoga in 1982 and began teaching in 1986. She was certified by B.K.S. Iyengar in 1989 following a trip to Pune. In 1986, she began practicing Insight Meditation with her mentors Pujari and Abhilasha Keays. Her asana classes blend mindfulness with physical movement. Charlotte writes a column for Catalyst Magazine and serves as editor for Yoga U Online. She is the author of two books: Mindful Yoga, Mindful Life, and Yoga for Meditators, both published by Rodmell Press. She also edits Hugger Mugger Yoga Products’ blog and is a founding board member for GreenTREE Yoga, a non-profit that brings yoga to underserved populations. A lifelong musician, she plays oboe and English horn in the Salt Lake Symphony and the folk sextet Red Rock Rondo whose 2010 PBS music special won two Emmys.


