Have you heard the term “superfood?” It is usually used to describe a nutrient-rich food that is especially beneficial for our health and wellbeing. I adopted this term to describe certain yoga poses as “superposes” because they also carry an incredible “nutritional value” for our bodies.
What makes a pose a “superpose?” Surprisingly, it is not the difficulty or intricacy of body part arrangement, and not even the strength or über-stretchiness that one needs to exhibit to do them. In fact, most superposes are quite simple. What makes them powerful is their incredible diversity. The purpose of any yoga pose is to carry maximum benefit for your body with minimum risk.
A superpose is a pose that:
-
Can deliver the benefits for many different body parts at the same time (“benefit-dense”).
-
Is accessible to most students.
-
Can be modified easily to emphasize the effect for a particular area.
-
Can be adapted easily to accommodate different body shapes, physical abilities, student preferences, and so on.
There are maybe 10-15 superposes out there, and if we choose to build our yoga practice on those instead of chasing after the fancy, exotic ones, we will end up with a rich, satisfying and “nutrient-dense” yoga practice.
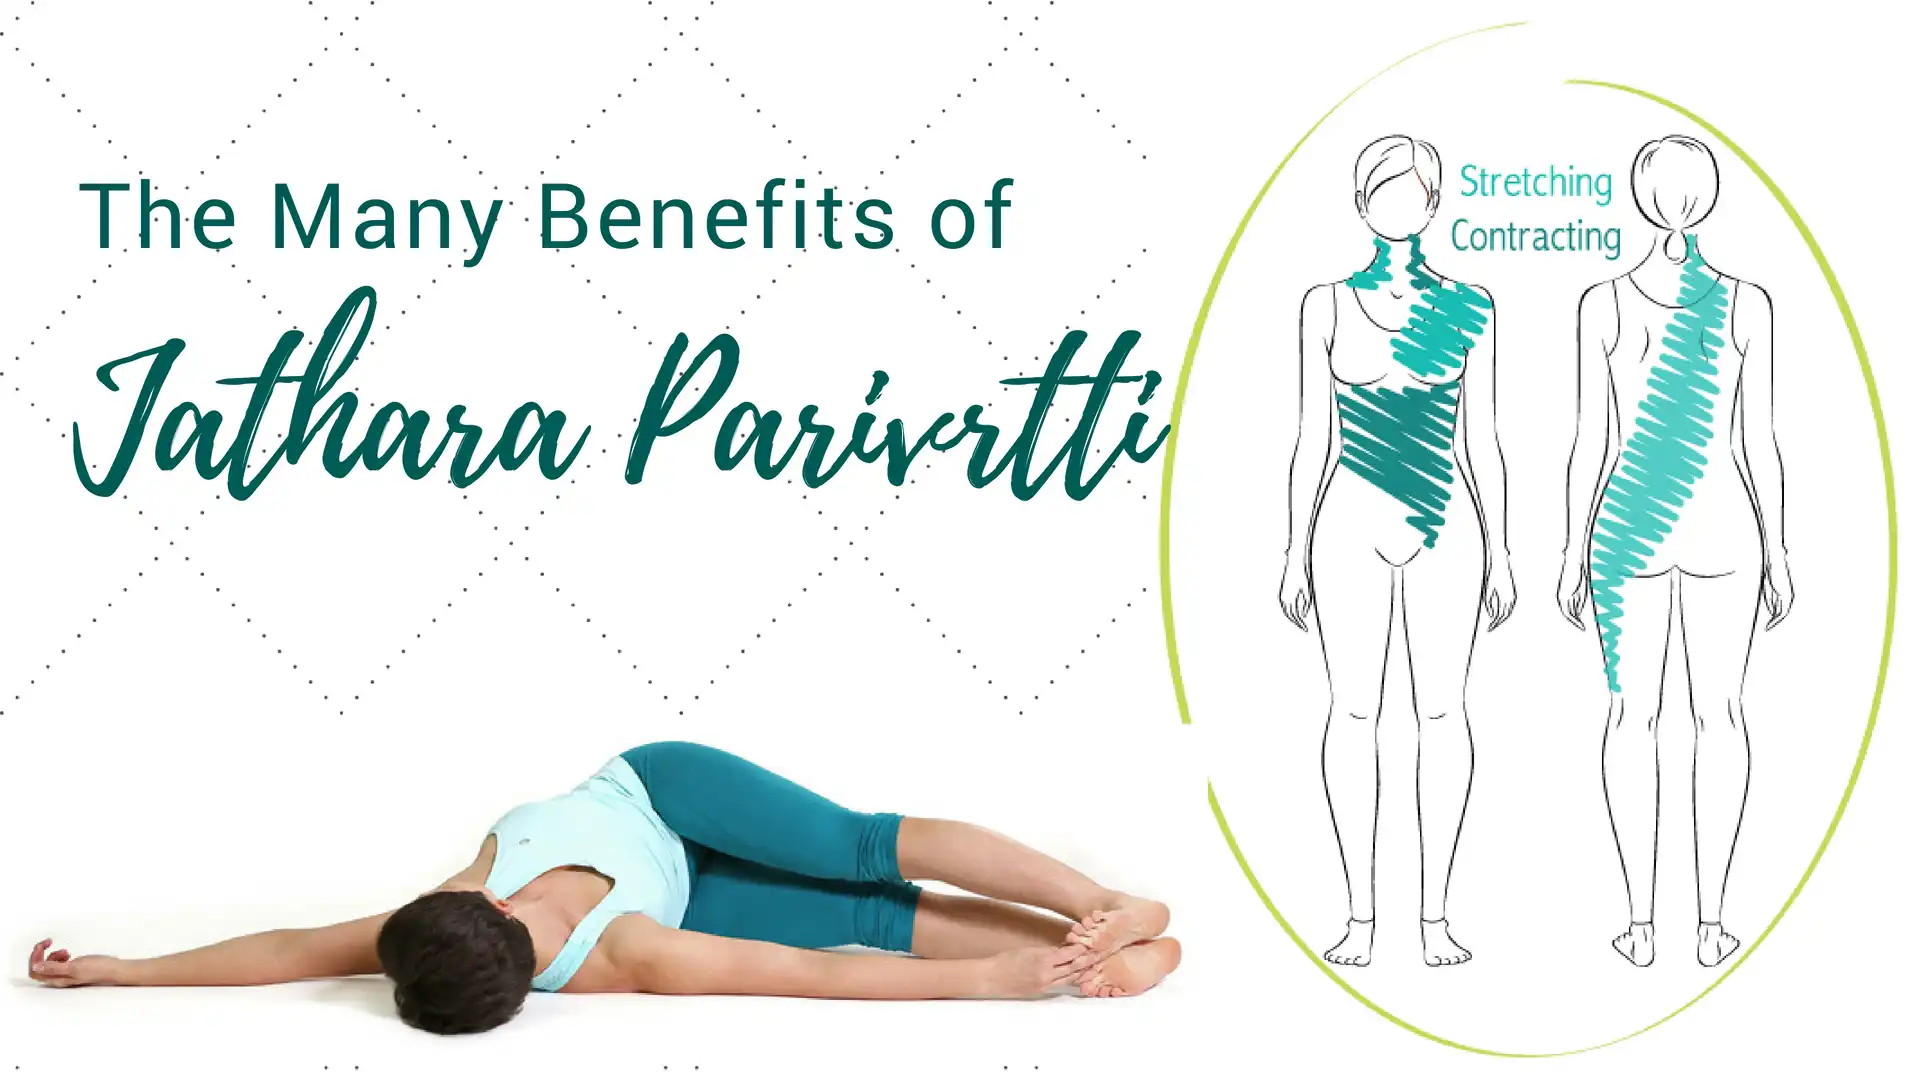
Today we will take a look at one of those superposes, Jathara Parivrtti a.k.a. Jathara Parivrttanasana (Revolved Belly Pose), and the qualities that make this pose so special.
Let’s get something out of the way first. In the traditional form of Jathara Parivrttanasana, you would have your legs straight, feet together and one hand holding onto your top foot.
To be able to do this pose effectively, you would need to have a very strong core and be very precise with movement. Because of the significant leg leverage, it poses risks to the lower back, sacrum, hips, and neck, and introduces a very strong hamstring pull. Because of all that, we rarely do this pose in its traditional form.
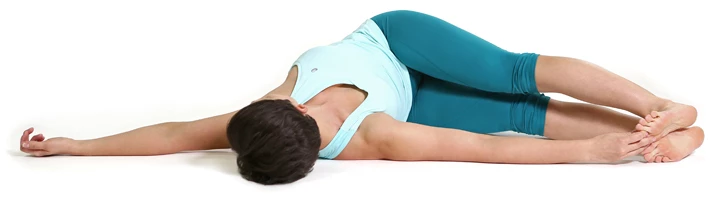
In the two most common versions of Jathara Parivrtti, we either keep the knees bent and together, or we keep one knee bent and another leg straight. Today we will be talking about Jathara Parivrtti with knees bent.
In this version of the pose, Jathara Parivrtti works great for rotating the spine and stretching the muscles of the lower back. If you change arm movement, you can target the upper back, shoulders and neck; if you change leg position and movement, you can work with abductors, rotators, hip flexors and hamstrings. Let’s take a closer look.
We usually do this pose in order to: 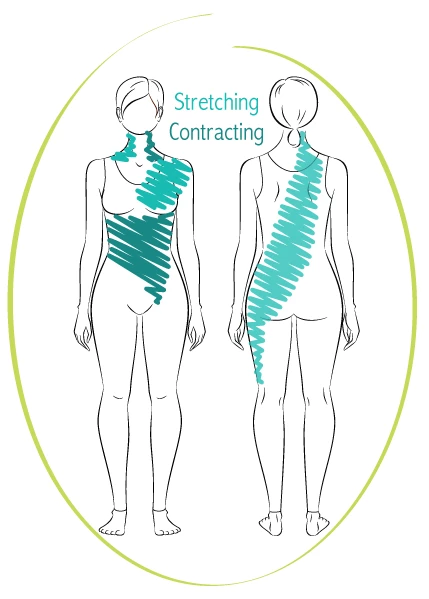
-
Rotate the spine (to lubricate the discs and build strength and flexibility in spinal musculature).
-
Stretch the lower back muscles one side at a time.
-
Stretch and strengthen the core musculature (abdomen, obliques and quadratus lumborum).
-
Realign the relationship between the shoulder girdle and the spine.
-
Realign the relationship between the pelvic girdle and the spine.
-
Provide visceral compression of the abdominal organs
How to Practice Jathara Parvrttanasana
-
Begin on your back with arms extended out, legs raised and knees bent.
-
Inhale: Lengthen your spine.
-
Exhale: Gradually contract your abdomen as you slowly lower your legs down to your right simultaneously turning your head to the left (your knees do not have to touch the ground).
-
Inhale: Raise your legs back up, keeping your upper body on the floor.

-
Exhale: Gradually contract your abdomen as you slowly lower your legs down to the left simultaneously turning your head to the right.
-
Continue to move like that with your breath. After several repetitions stay in the pose.
-
Inhale: Lengthen your spine
-
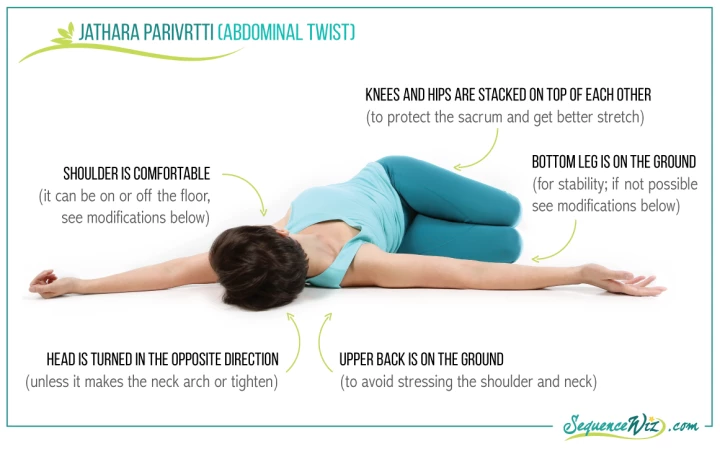
Exhale: Progressively contract your abdomen and turn your lower body a little further to the right (trying to stack the knees on top of each other) and your upper body to the left (trying to keep the upper body on the floor).
-
Some students will need support in this pose. If your knees cannot reach the floor, you can place a blanket, bolster or block under your knees (A).
-
If your shoulder keeps lifting off the ground, you can elevate your knees and/or rest your top hand on your top hip to avoid shoulder strain (B).
-
If turning your head to the left arches or tightens your neck, you can look to your right (C).
Options for Focusing on Different Areas of the Body
-
 Be sure to progressively contract the abdomen when you move into the pose and try to keep your knees together. This will strengthen your core musculature (abdomen, obliques and quadratus lumborum).
 -
If you want to protect your sacrum and bring more emphasis to your upper body, keep your lower body stationary and move your upper body instead.
-
If you want to loosen up your shoulder and stretch your neck, try an arm sweep as you breathe in the pose. Here it’s important to keep your upper body on the floor, even if it means propping up your knees with something.
-
If you want to strengthen your abductors (many of us lack strength in those muscles, which can show up as hip pain, difficulty walking and issues with balance), slowly move the top leg up and down.
-
If you want to loosen up your piriformis, do the “clamshell” version of the pose, moving your top knee up and down.
-
If you want a deeper stretch after doing some hip work, wrap the top leg over the bottom one and work on deepening the twist with your breath.
Want to read a great article on the origin of pain? Read Olga Kabel's – When You are Hurt, Where Does Pain Come From?
Study core strength and so much more with Olga Kabel and YogaUOnline – Yoga for Posture Improvement with Focus on Core Strengthening and Axial Extension.
Reprinted with permission from Sequence Wiz.
 Educated as a school teacher, Olga Kabel has been teaching yoga for over 14 years. She completed multiple Yoga Teacher Training Programs but discovered the strongest connection to the Krishnamacharya/ T.K.V. Desikachar lineage. She had studied with Gary Kraftsow and American Viniyoga Institute (2004-2006) and received her Viniyoga Teacher diploma in July 2006 becoming an AVI-certified Yoga Therapist in April 2011. Olga is a founder and managing director of Sequence Wiz- a web-based yoga sequence builder that assists yoga teachers and yoga therapists in creating and organizing yoga practices. It also features simple, informational articles on how to sequence yoga practices for maximum effectiveness. Olga strongly believes in the healing power of this ancient discipline on every level: physical, psychological, and spiritual. She strives to make yoga practices accessible to students of any age, physical ability and medical history specializing in helping her students relieve muscle aches and pains, manage stress and anxiety, and develop mental focus.

