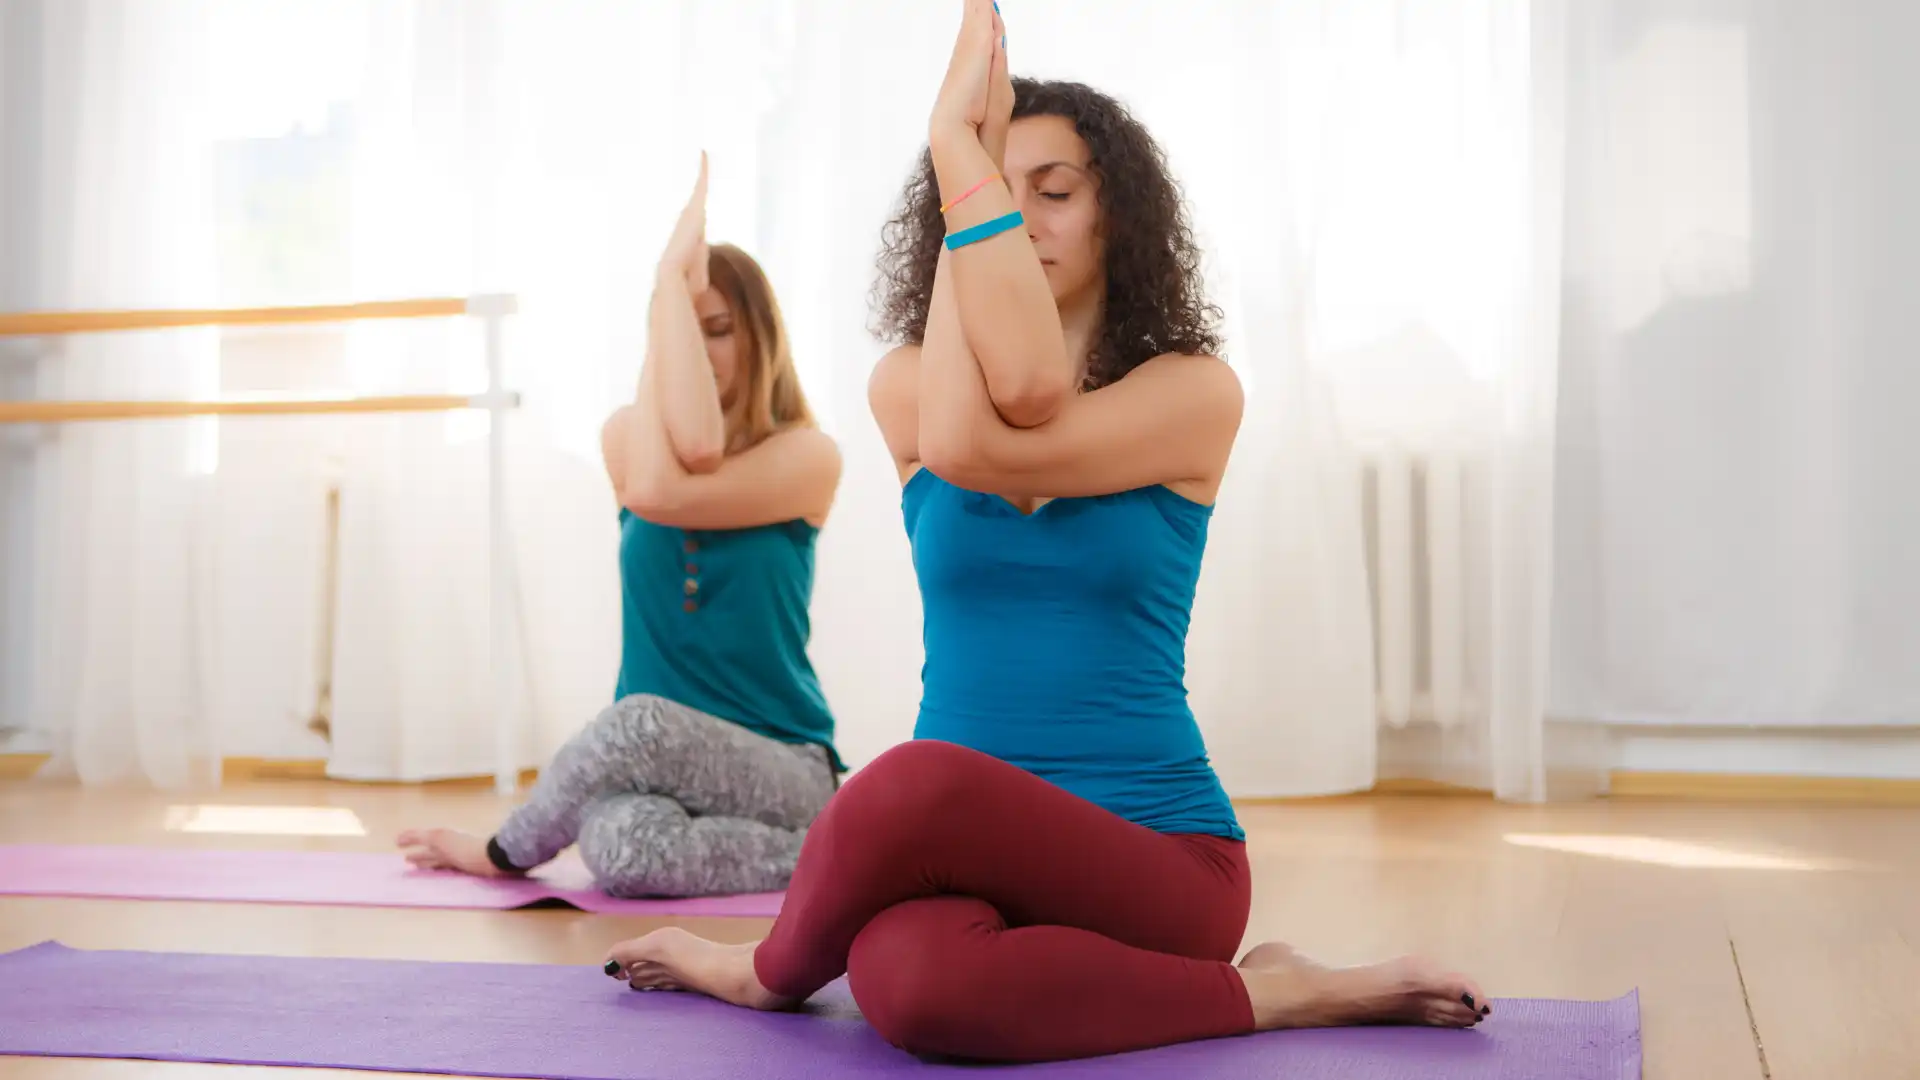
Yoga for Your Hips: How to Practice Gomukhasana for Greater Freedom and Mobility

Rob a bank, and you are likely to be punished by losing your freedom of movement. But for no greater crime than getting older, sitting too much, or both, you can lose the freedom of movement in your hips. Even some otherwise beneficial acts, like running, cycling, and playing team sports, can put you into tight-hips prison.
How do you tunnel your way out of your cell and back into a fluid walk, deeper forward bends, and a quieter, calmer mind?

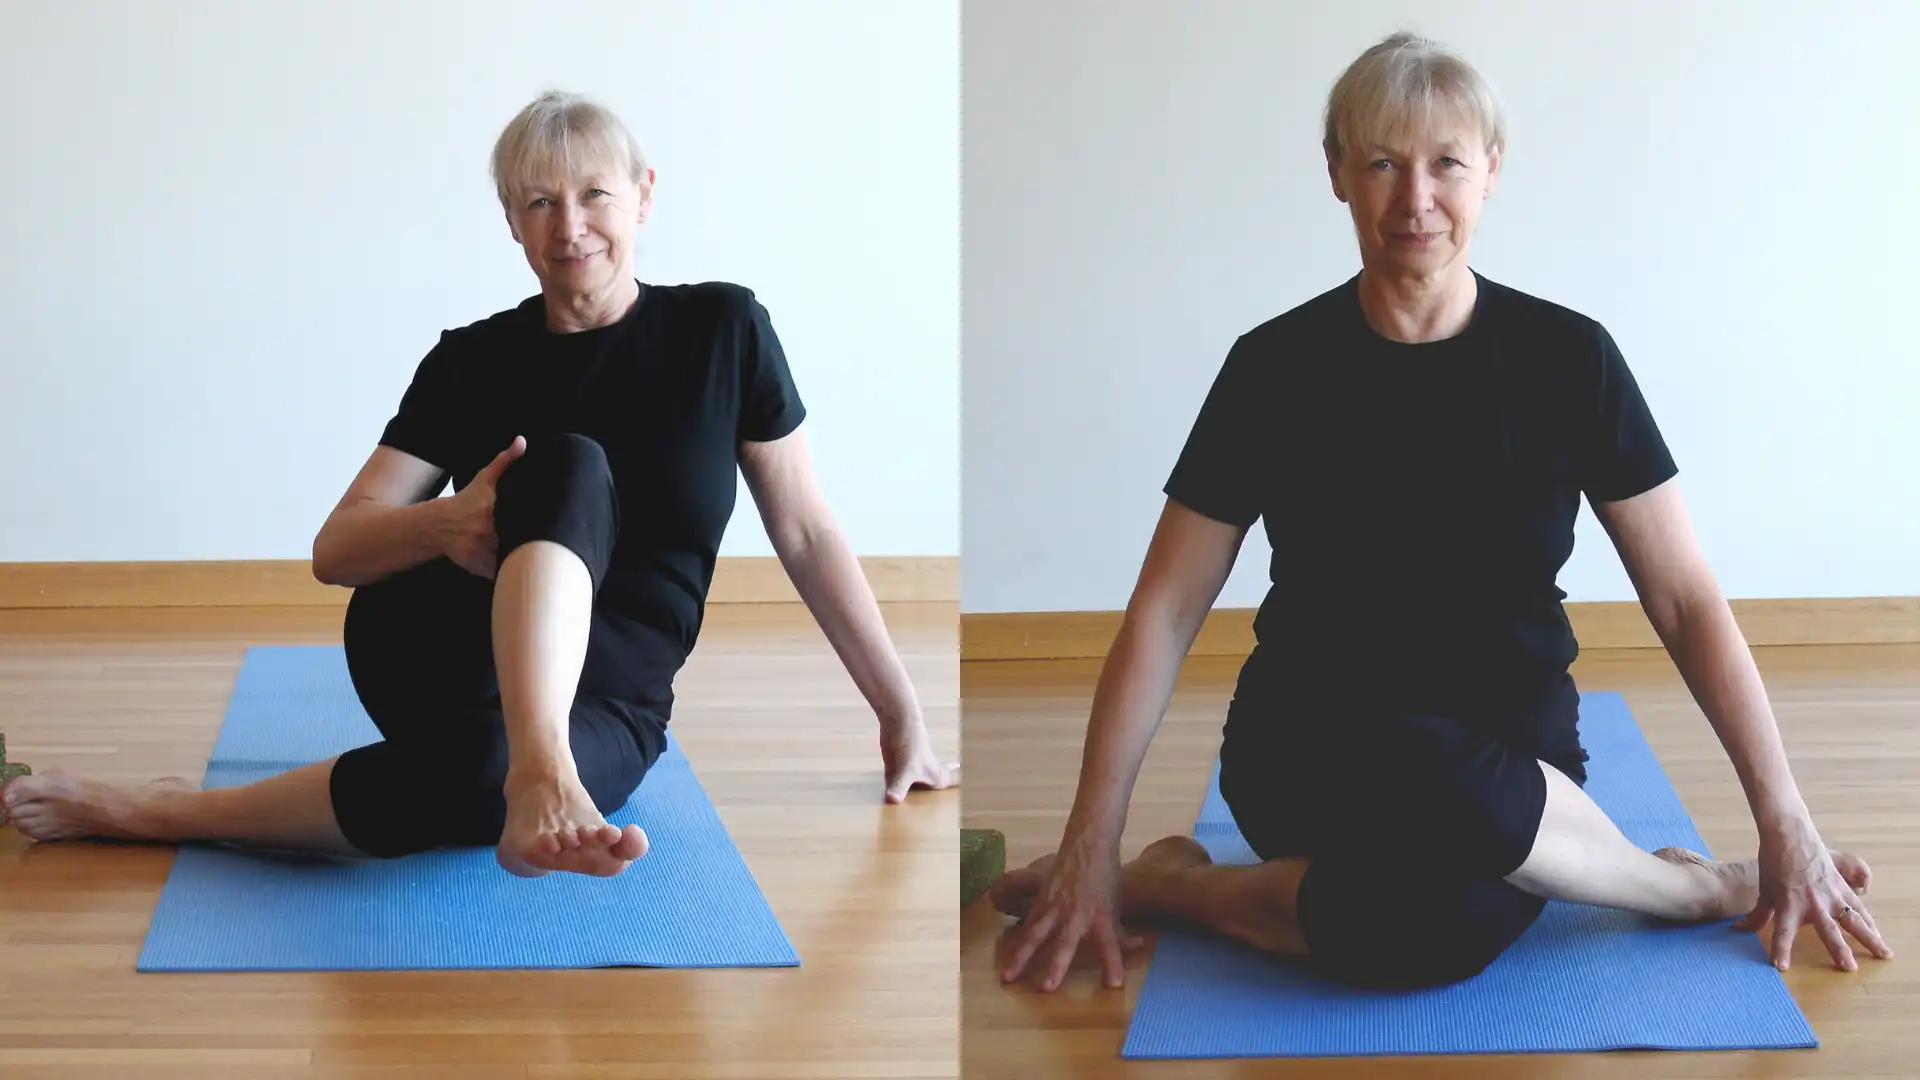
(Get started with your left knee centered on the mat, and lift your right leg up and over. Sit on enough foam blocks (or thick books) to let both sitting bones rest equally on the height.)
How to Practice Gomukhasana (Cow Face Pose)
- Sit on your mat with your knees bent and feet on the floor in front of you, about one foot apart.
- Have a stack of chip-foam yoga blocks—or an old phone book or two—close by.
- With your left hand, reach under your knees and grasp your right ankle. Pull your foot toward you until your knee lines up with the center of your mat and your foot rests out to the left side of your hips.
- Then swing your left leg over your right leg. Make sure you’re not sitting on your right foot.
- Check the position of your sitting bones. If they aren’t equally weighted on the floor, put a block or book under your hips. Add height until your sitting bones press down evenly into the support. You will feel a stretch in your outer hip, ranging from moderate to extreme.
- Stay with a moderate stretch. You should feel that you can stay seated and explore the feeling of length coming to your outer hip muscles. If your brain feels tight and you’re just enduring the pain, add more blocks under your buttocks.
- As you sit, inhale into the hip of your top leg, expanding and warming the joint. As you exhale, release and let your hip flesh sink toward the floor or blocks. If you’re already sitting on the floor and would welcome more stretch, fold into a slow forward bend.
- Remain seated for one to five minutes.
- Change sides. It’s quite possible that your sides will be different, so make whatever adjustments you need to sit evenly on your sit bones on your second side.
Benefits: Days spent sitting at desks create tightness in our hips which restricts our movements and adds underlying tension to our minds. This simple hip opening can reverse the process. Daily practice of Gomukhasana is the key to getting results.
Sequence: As a stand-alone practice, do this any time you have a chance to sit down. You can watch TV or talk on the phone while giving your hips the long, patient stretching they need.
As part of a longer practice, try this pose before hip-challengers such as Parivrtta Trikonasana (Revolved Triangle Pose) or Parivrtta Ardha Chandrasana (Revolved Half Moon Pose).
Knee Pain and How to Modify
If your lower knee does not reach the floor or if you feel any discomfort in your knee, put a block or two beneath your knees, so you can rest your calves on firm support. If this doesn’t alleviate the discomfort, stretch your bottom leg out onto the floor.
If you can’t take one leg over the other without pain, then come into the position with your right leg, but instead of crossing your left leg over, keep your left foot on the floor beside your right knee or straighten your bottom leg out onto the floor.
If you feel knee or back pain in this pose and can’t make it go away by using more blocks, stop doing it. Ask your teacher for a hip-stretching pose you can do without pain.
Also, read...
Warrior I Pose: 5 Strengthening Variations
Deepening Your Home Yoga Practice: An Interview with Judith Hanson Lasater
4 Easy Ways to Use a Sandbag in Yoga Practice
Related courses
Breath as Medicine: Yogic Breathing for Vital Aging
Yoga and Myofascial Release: Releasing Chronic Tension with the Bodymind Ballwork Method

Eve Johnson taught Iyengar Yoga for 18 years before being introduced to Spinefulness in 2016. Convinced by the logic, clarity, and effectiveness of Spinefulness alignment, she took the teacher training course and was certified in July 2018. Eve teaches Spineful Yoga over Zoom and offers an online Spinefulness Foundations course. For course information, go to http://spinefulness.ca.


