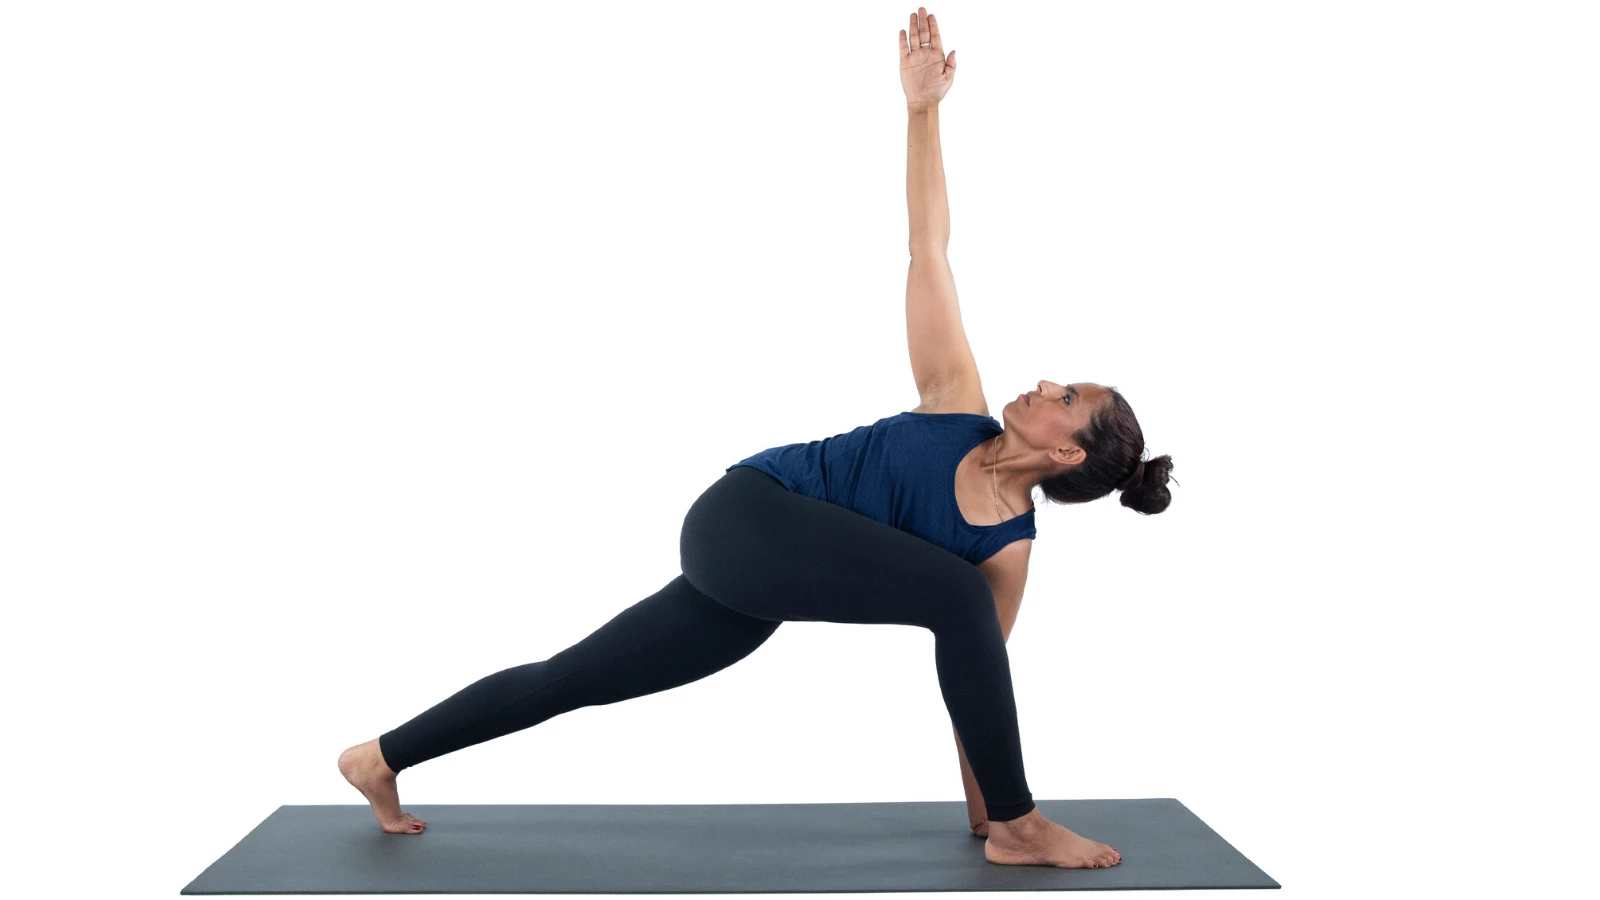
HOW TO PRACTICE Revolved Triangle Pose IN YOGA (Parivrtta Trikonasana)
Benefits, How to Instructions, Modifications, and Common Alignment Mistakes for Revolved Triangle Pose

Every yoga pose is challenging in its own way, and Revolved Triangle Pose (Sanskrit name: Parivrtta Trikonasana) is no exception. Many points of action and yoga alignment come together to create a truly beautiful asana that activates the entire body.
At the heart of it, Revolved Triangle Pose is a standing twist posture that, in its full expression, creates rotation in the torso and strong work in the shoulder girdle. Add in a forward bend and you’ve got a full-body challenge!
This yoga pose requires adequate physical preparation and a mindful approach. You may find yourself trying to emulate the “picture” of the posture, but taking your spine into rotation from an asymmetrical stance and then adding flexion at the hips can destabilize your back, shoulders and hips.
The challenge here is to practice using the yogic notion of ahimsa (non-harm), savoring the experience while allowing your body to unfold in its own time.
Learning the asana under the guidance of an experienced yoga teacher and approaching your practice with mindful attention to maintaining neutral alignment of your fully erect spine are the best ways to enjoy this pose without risk of injury. A good way to advance your yoga practice is to try some of the variations offered under the Deepen The Pose Tab.
Benefits of Revolved Triangle Pose

Parivrtta Trikonasana strengthens and stretches the legs and hips, and elongates the spine and arms. Because this posture requires standing balance and a deep forward bend, it is one of the more challenging twisting yoga poses.
However, if you stick with it, Revolved Triangle Pose is likely to become one of your favorite yoga poses because of its many benefits. Over time, Parivrtta Trikonasana can help improve rotational range of motion in the torso, which in turn can help mobilize the thoracic spine, chest and abdominal muscles. This, in turn, can support digestion, help to open space for a freer breath, and–provided you perform the asana with your spine in a neutral alignment–may help reduce tension throughout the back body.
It is tempting in any twisting yoga pose to merely muscle your way into the pose by using your arms or spinal muscles alone. To get the full benefit of this yoga posture, move from the spine and incorporate your abdominal strength to aid the twisting action.
Basic Revolved Triangle Pose

- Start with two blocks at the top of your yoga mat. Stand with your feet shoulder-width apart right behind the yoga blocks. Step your left foot back behind you about 3.5 feet. Note: Contrary to what you may think, if you are tighter, you should go longer in your stance for this posture. That’s right: the less flexible you are in your legs and back the further apart you need to place your feet. Just make sure your legs are not so far apart that they are no longer able to provide support.
- Now that you are standing with your right foot in front of your left, “square-off” the shoulders toward the wall in front of you. To do this, you will need to draw your right shoulder and ribcage back, and your shoulder and ribcage forward. Engage the sides of your belly button toward the spine.
- Parsvottanasana (Pyramid Pose) is a helpful transition pose for moving into Revolved Triangle Pose. While rooting down strongly through both feet, lengthen your spine. Imagine someone is pulling up on the top of your head.
- From this grounded and extended position, fold from your hips and place your hands on blocks or the back of a chair. Find length in your spine by pressing the shoulder blades into your back.
- Make sure to keep your spine extended as you move into Parsvottansana.
- Now check in again with your side waist and draw your right hip back to create an even length in both sides of your body. As you reach your hips back, draw your chest forward.
- Check in with your head position. It is common to throw your head back in Parsvottanasana, which can strain your neck. Lengthen the back of your neck, stretching the base of your skull away from your shoulders.
- While still in Parsvottanasana, you can try walking the hands and blocks forward to create even more length in your torso. Stay here and imprint the sensation of length.
- To make the transition from Pyramid Pose to Revolved Triangle Pose, walk your hands back underneath you and come to standing. Keep rooting down through the feet and place your right thumb in the hip crease of your front leg.
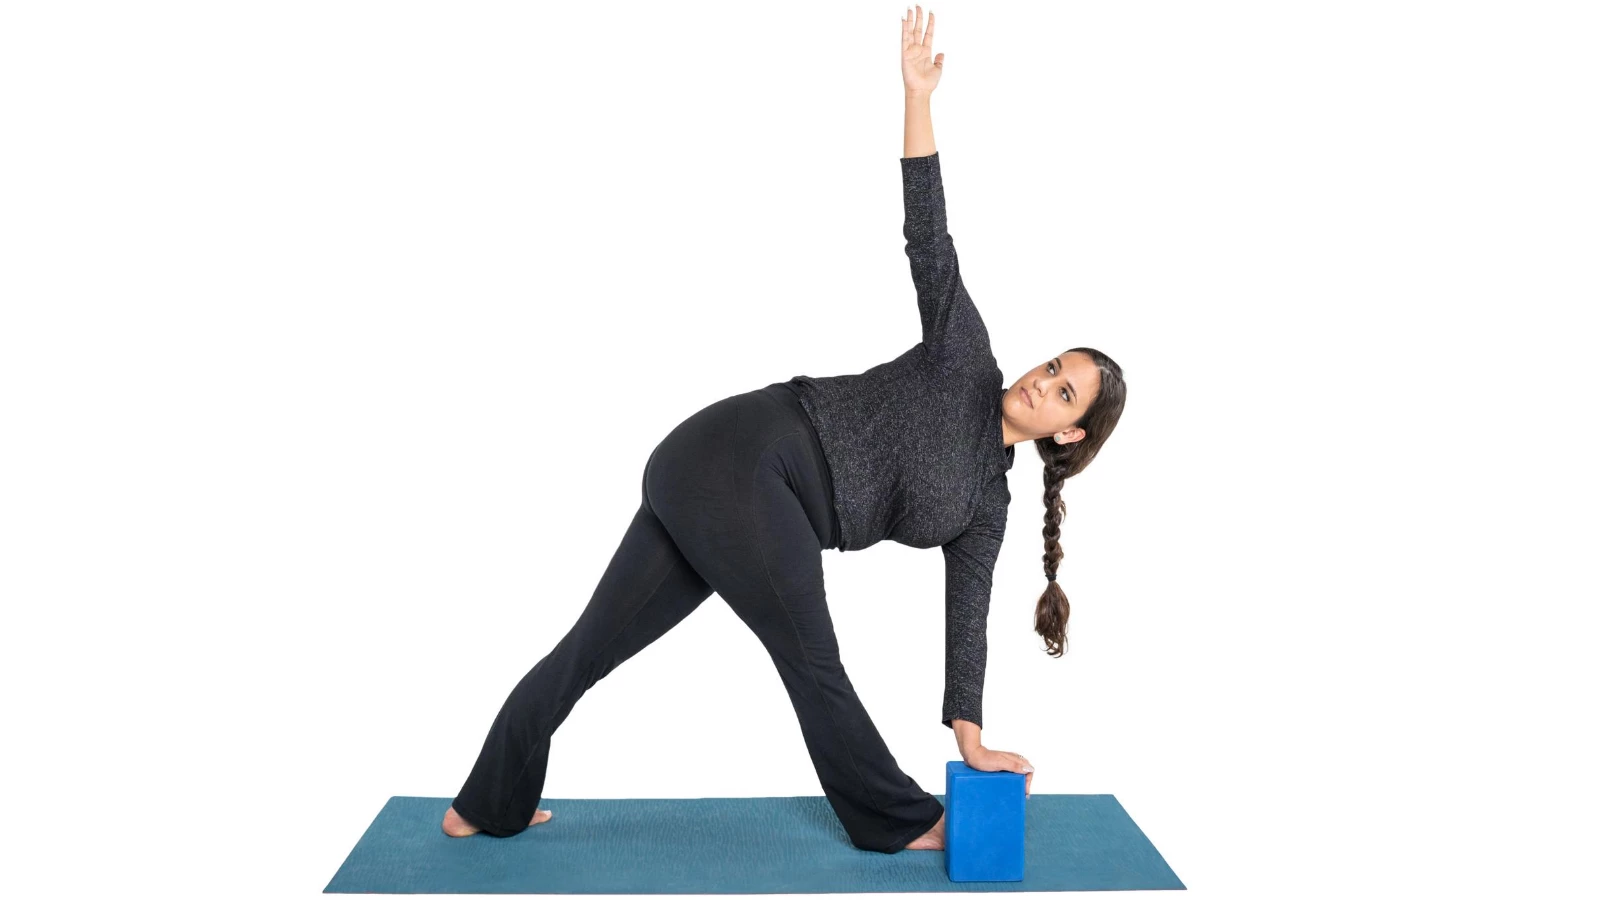
- Reach your left arm up by your ear. Keep lengthening through your spine as you hinge again from your hips. Reach your hips back and your chest forward. Place your left hand on the chair or block just outside your front foot.
- Root into your back heel and reach your chest forward away from your hips.
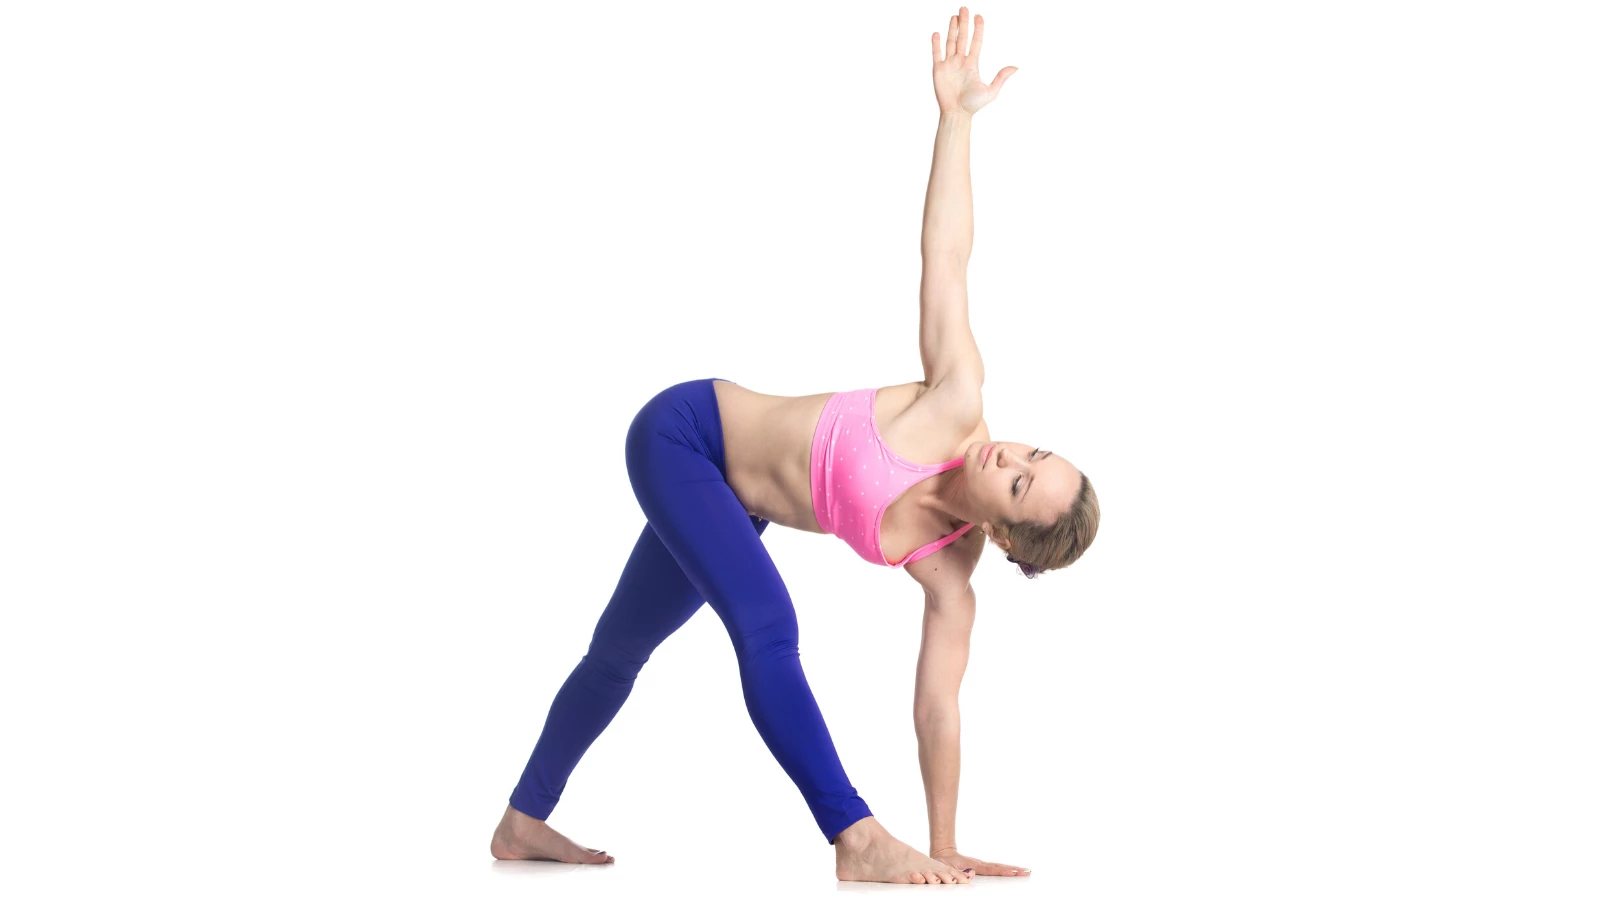
- Once again, the key to alignment in Parivrtta Trikonasana is to first find as much length in your spine as you can. With your spine fully extended, twist through the middle of your torso. Think about drawing the belly button toward the side of the room.
- You can either place your hand on your sacrum or try extending the fingers up toward the ceiling. Note: It’s advisable to only reach your top arm up after you are able to stack your top shoulder over your bottom shoulder. If you prematurely reach your hand up, you can strain your back and neck.
- With every inhalation move your sternum away from your hips. With every exhalation, twist a little more.
- To come out of the yoga pose, reach your top arm back behind you and down toward the floor as if you’re doing a backstroke. Look down at the floor and get steady. Now circle your opposite arm up and overhead as you rise to standing, facing the side wall. Parallel your feet with hands on your hips, and step or lightly jump your feet together.
- Follow these same steps to come into Revolved Triangle pose on the other side.


