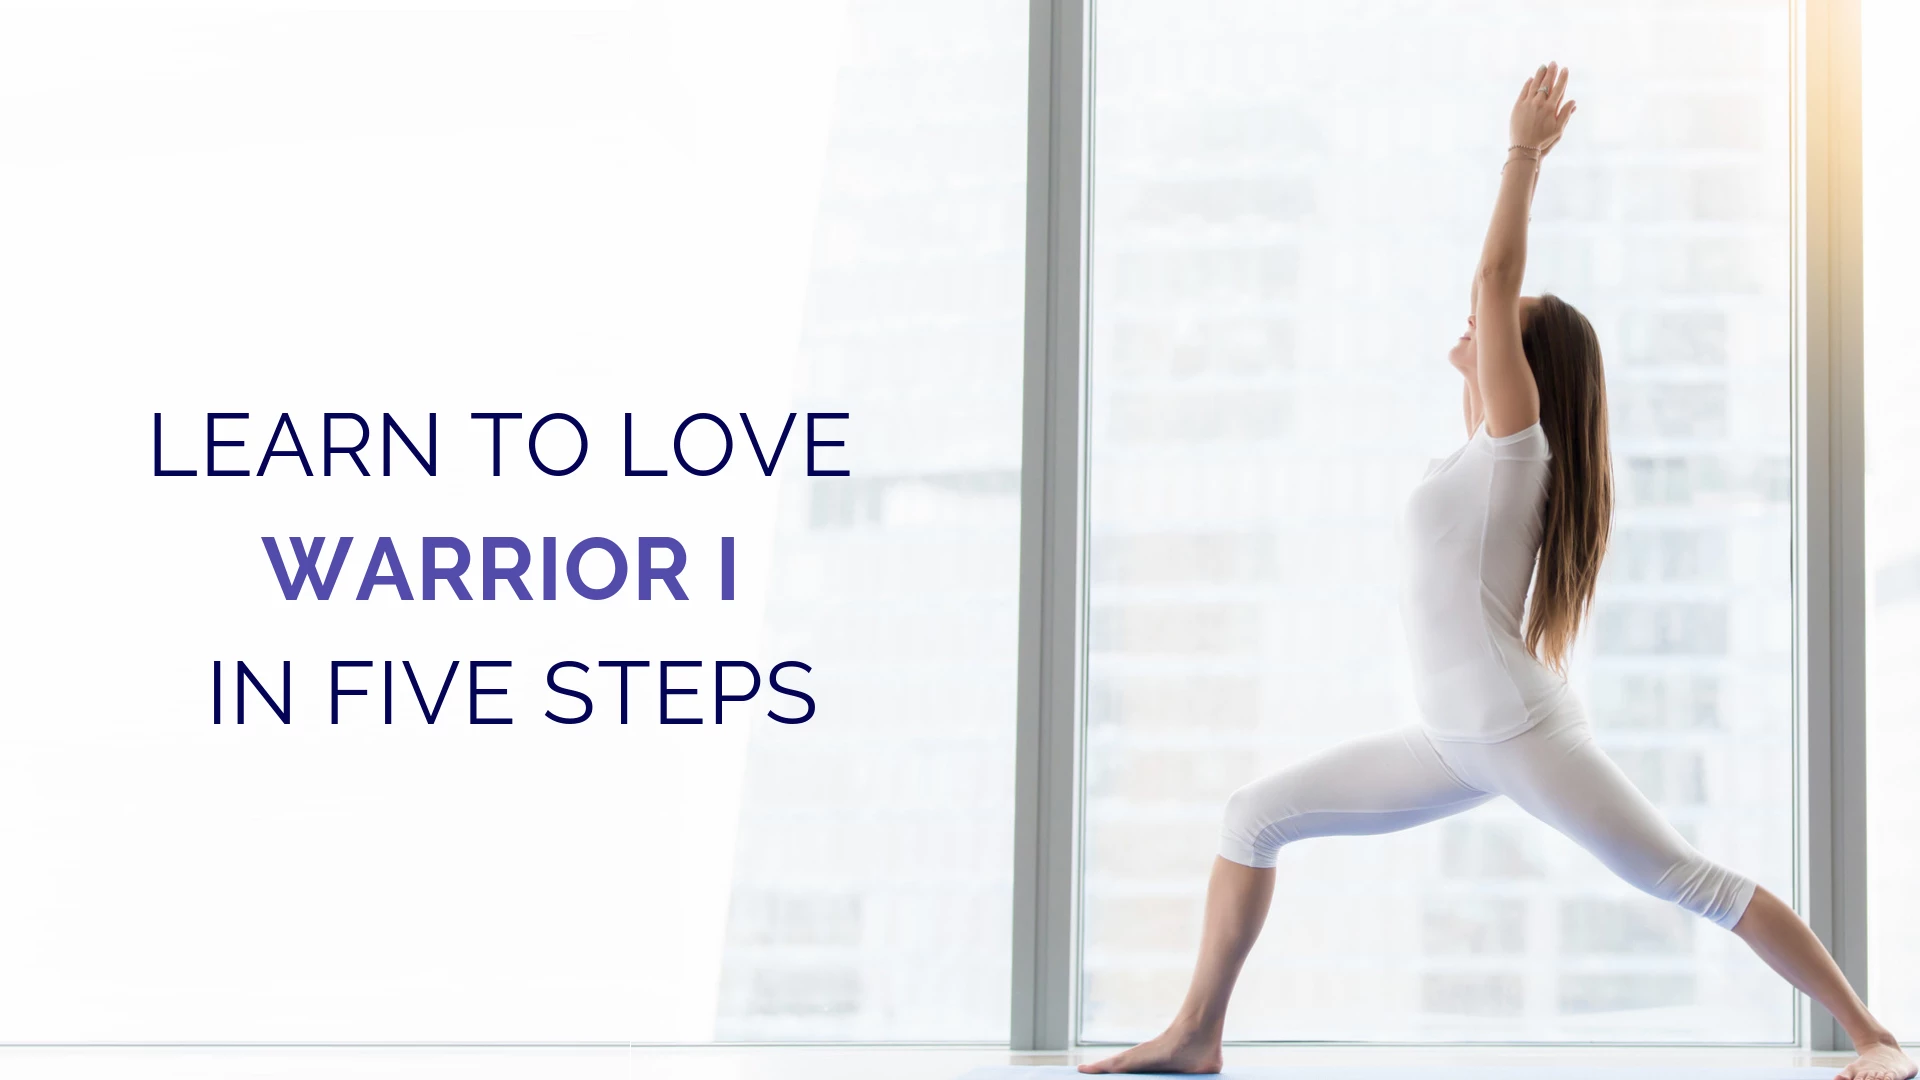
I’ve never looked too kindly upon the pose Virabhadrasana I or Warrior I because it never felt kind on my body. In the vinyasa classes I attended, it seemed like it was a “basic” pose that should be easy on my body and perhaps easy on my mind.
However, every time I stepped my left foot forward, spun my back heel down, and lifted my arms up overhead, I would get a sharp sensation in my right lower back. I thought that’s just how it is for my body. But was it?
Over the years of practicing, yoga teacher trainings, and learning, I gained more yoga knowledge, and with this came more self-empowerment. The “that’s just how it is for my body” statement was no longer a valid response to how I felt physically in the pose.
Some thoughts needed to shift, such as thinking Warrior I was a basic pose that required little warming up with just a few sun salutations—even the thought process of moving into the pose needed to shift. I couldn’t stop the pain by starting in a painful stance.
Overall, I needed a foundational set of prep poses for my body to build up to Warrior I. I looked at the physical actions or movements of the major body parts and found more accessible poses that had those same actions to warm and prepare my body. This is what I came up with.
Step 1 – Supta Padangusthasana: Elongate Your Back Leg
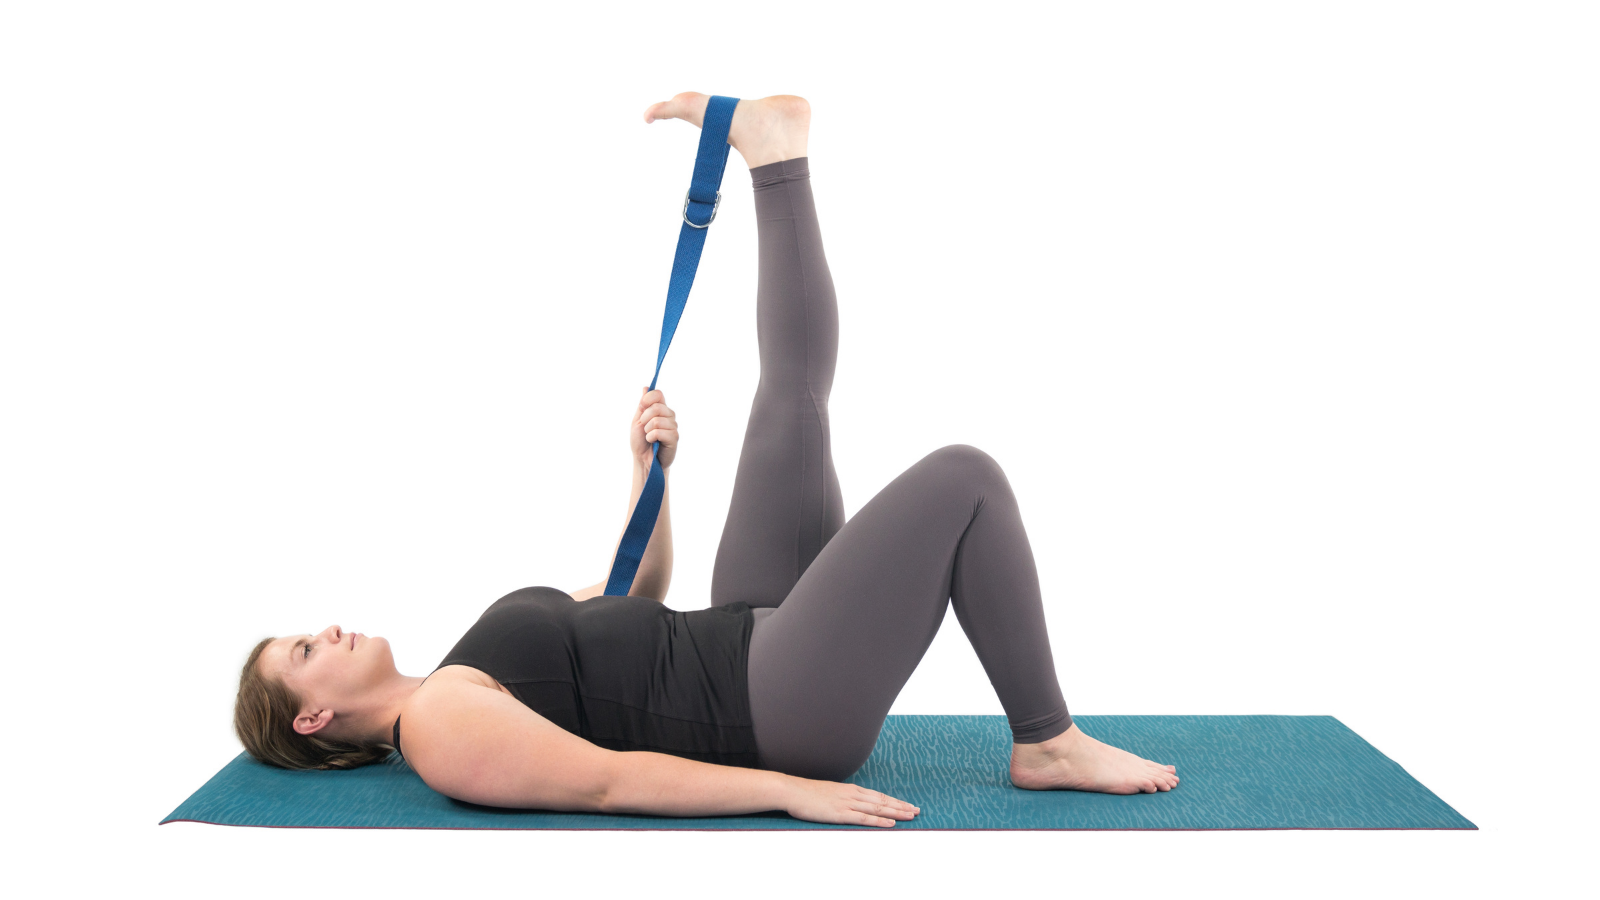
Supta Padangusthasana (Reclining Big Toe Pose) lengthens the back of the leg from the hamstrings to the ankles. You will find a greater range of motion in moving the hips and bringing your heel down to the floor by releasing tension in the backs of the legs.
1. Lie on your back with your legs together, straight and firm.
2. Bend your right knee into the chest and loop the heel of the foot with a strap.
3. Straighten your right leg, reaching your heel up toward the ceiling.
4. Tug down on the strap so your heel has some resistance. The strap acts like the floor, into which you will eventually press your heel down.
5. After about a minute or two, bend your right knee into your chest, lower the leg, and do the other side.
Step 2 – Salabhasana: Extend Your Spine

Salabhasana (Locust Pose) is a prone backbend. If you take a look at the position of the spine in Warrior 1, you will see that it too is a backbend. Practice Salabhasana to get a feeling of extension in the spine without crunching into your lower back.
1. Lie down on your belly, stretching your legs out behind you and your arms down by your sides with your palms face down.
2. Move the outer thighs down toward the floor, internally rotating the legs and broadening your lower back.
3. Inhale and lift only the legs up a few inches away from the floor. Reach the balls of the feet toward the back of the room and straighten the legs all the way. Continue to breathe as you hold.
4. Inch your breastbone forward, keeping it on the floor to lengthen the spine.
5. Inhale and lift your chest, head, and arms away from the floor.
6. Continue broadening your lower back and lengthening the entire spine from your tailbone to the base of your head.
Step 3 – Utkatasana: Flex Your Ankles, Knees, and Hips
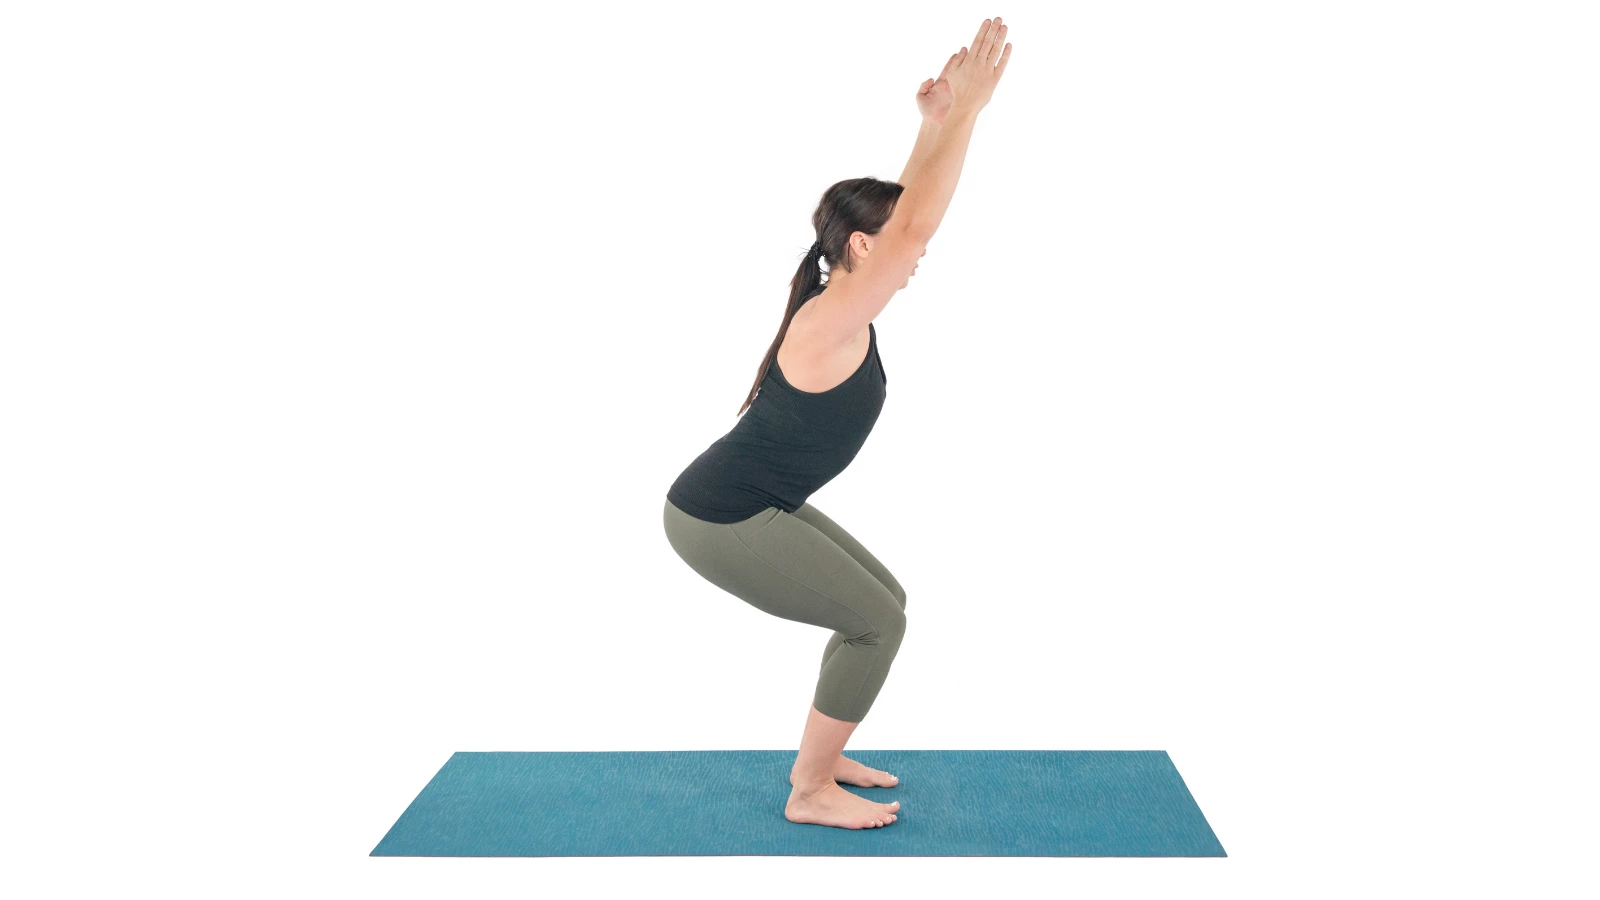
Utkatasana (Fierce Pose) warms the joints and muscles of the hips and legs. The shape of Utkatasana is nearly identical to that of the front leg in Virabhadrasana I; the front hip, knee, and ankle are flexed.
1. Stand in Tadasana with your feet and legs together and your arms down by your sides.
2. Bend your knees and sit your hips back maintaining even standing in your feet.
3. Lengthen and broaden your lower back as you sweep your arms up overhead.
4. Move slowly and dynamically in and out of Utkatasana, mindful of your alignment.
Step 4 – Urdvha Hastasana: Lift Your Arms Up
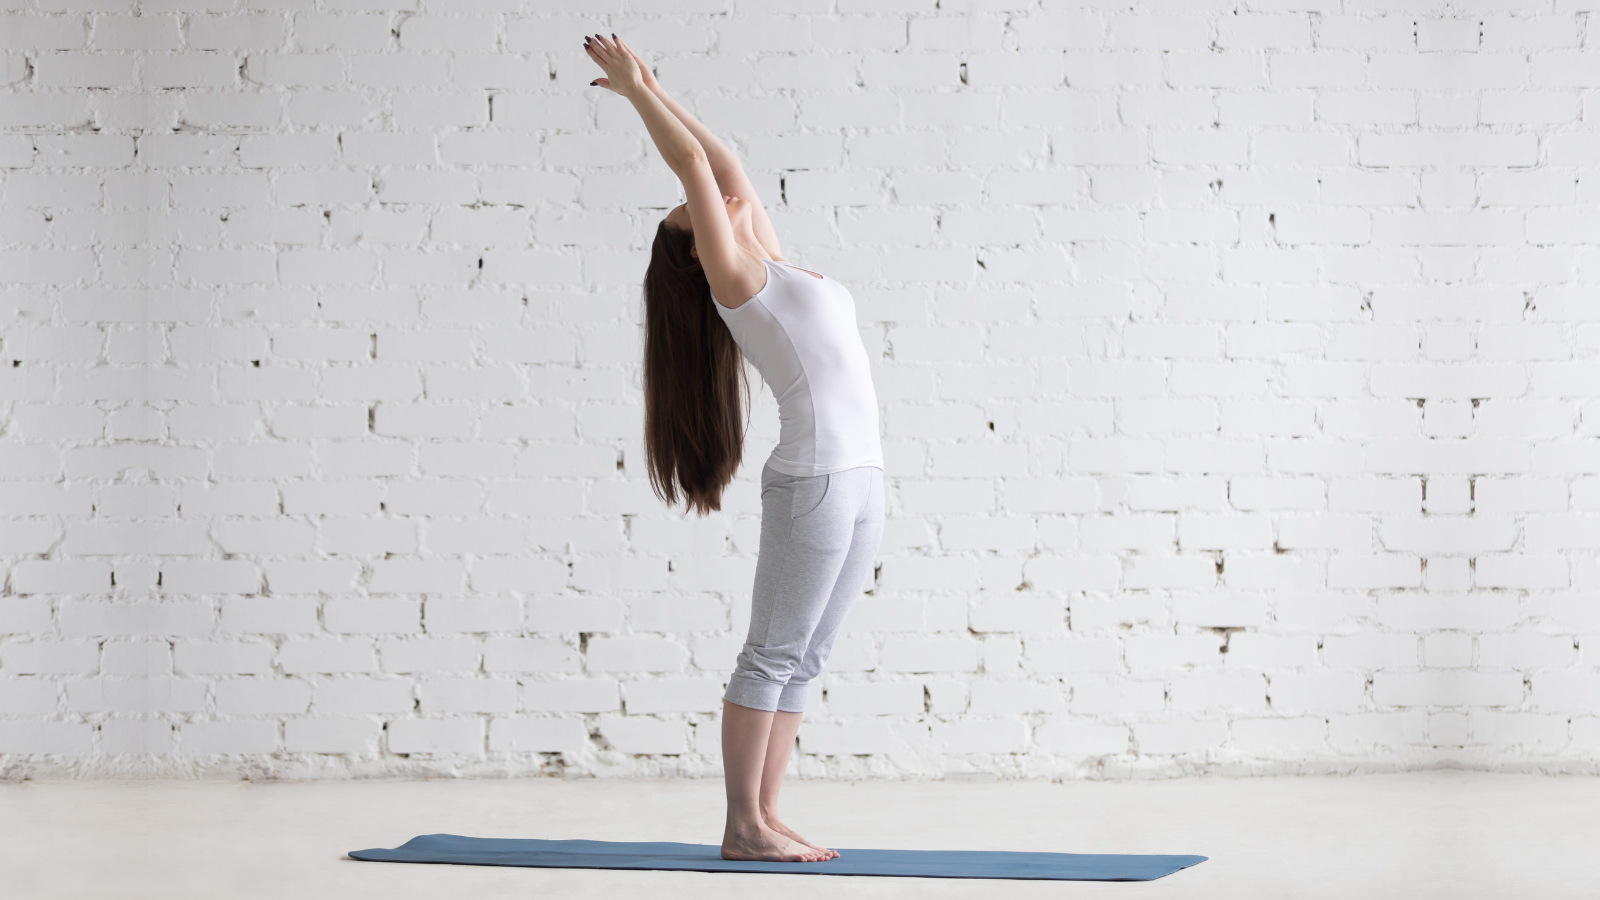
Urdvha Hastasana (Upward Salute Pose) is a standing posture with the arms raised overhead. This lifting of the arms action is similar to that of Warrior I. Sometimes, the hands are positioned far away from each other, and other times, the hands are shown with the palms touching.
As you gain more range of motion in the shoulders and particularly in the latissimus dorsi muscle, which when tight, can hinder the arms from lifting and straightening overhead, the arms may move closer together.
1. Stand in Tadasana and firm the muscles of the legs.
2. Press your feet down onto the floor.
3. With your arms down by your sides, rotate your upper arms and palms to face forward.
4. Lift your arms up overhead and continue to turn your arms so that your triceps and pinky fingers face forward.
5. Straighten your arms and spread your fingers.
6. Remember the actions of your spine in Salabhasana, particularly in your upper back and neck here as you gaze up to look at your hands.
7. Keep your hips over your anklebones.
Step 5 – Anjaneyasana: Lengthen Your Hip Flexors
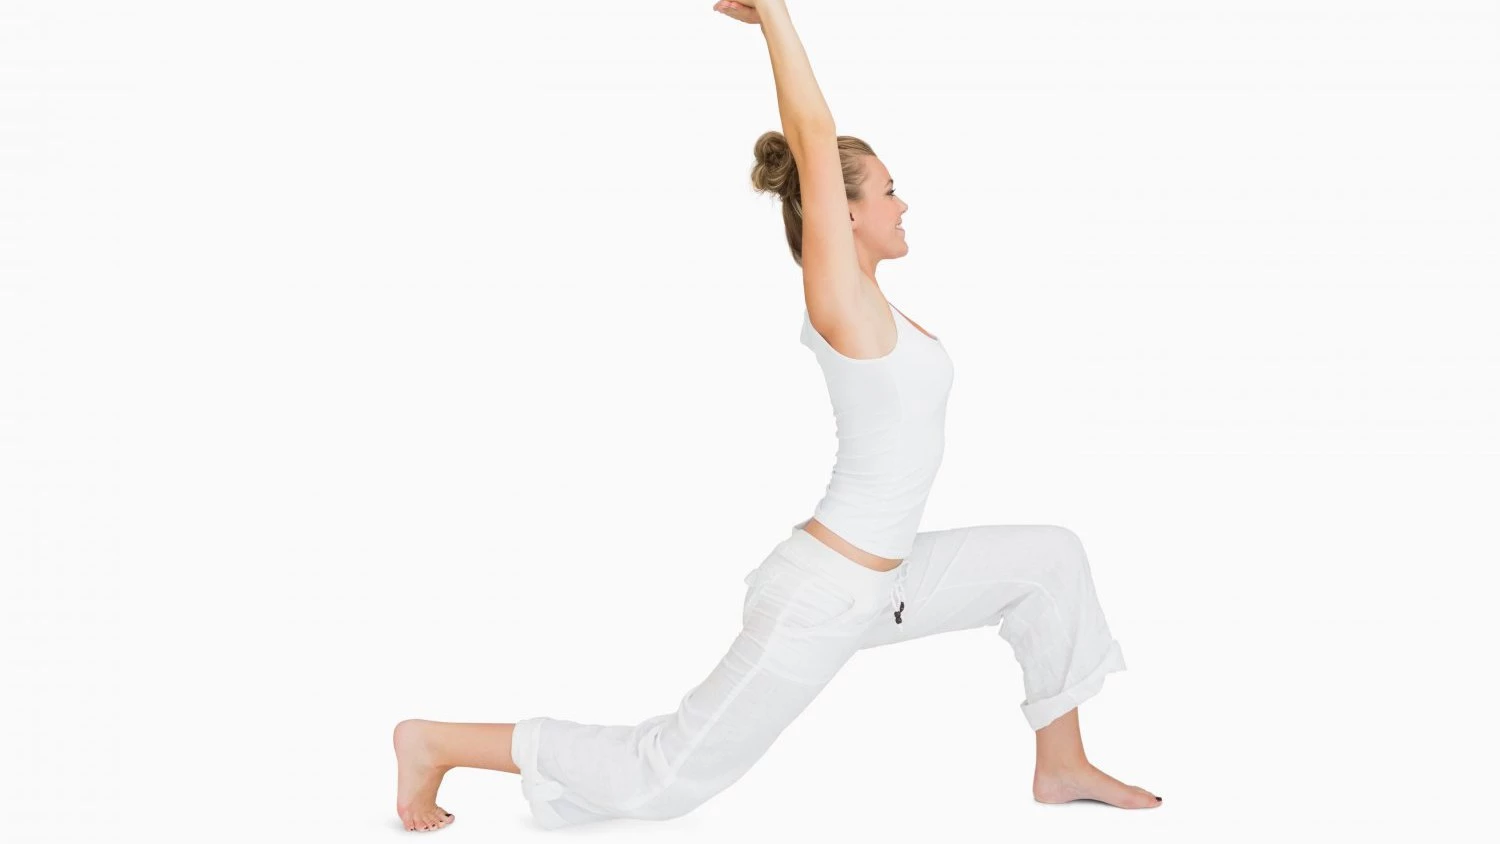
Much of the tension and pain I felt in my lower back practicing Warrior I came from the tightness of my hip flexors. When your thighbone moves behind your hip, your hip is in extension. Your hip flexors stretch when you are in hip extension.
Since we spend so much of our days with our hips flexed, such as when we sit down or drive, the hip flexors can become short and tight. Warrior I lengthens the hip flexors, but warming up with Anjaneyasana (Lunge Pose) can ease low back issues that sometimes arise in the pose.
1. Start in a simple lunge with your right knee bent, left leg straight behind you, and your hands on the floor or blocks.
2. Take a few slow breaths here.
3. Lower your left knee to the floor, behind your left hip, and untuck your toes. Keep your hands on the blocks.
4. Take a few deep breaths here.
5. Finally, lift your arms up (think Urdvha Hastasana arms). When your arms lift overhead, you will feel more lengthening at the front of your hip. Take a few breaths here.
6. Take care not to let your right hip joint collapse toward the floor. Lift slightly upward in the hip joint. This helps to protect the cartilage and labrum in the joint.
7. To come out, lower your hands, tuck your toes, lift your left knee off the floor, and move your left foot forward.
8. Practice on the other side.
If practicing in these stages is very intense for your hip, practice the lunge a few times and do one stage at a time. By the third round of lunges, come into step number 5 or keep your hands down on the blocks the entire time.
Combine All These Actions for Warrior I
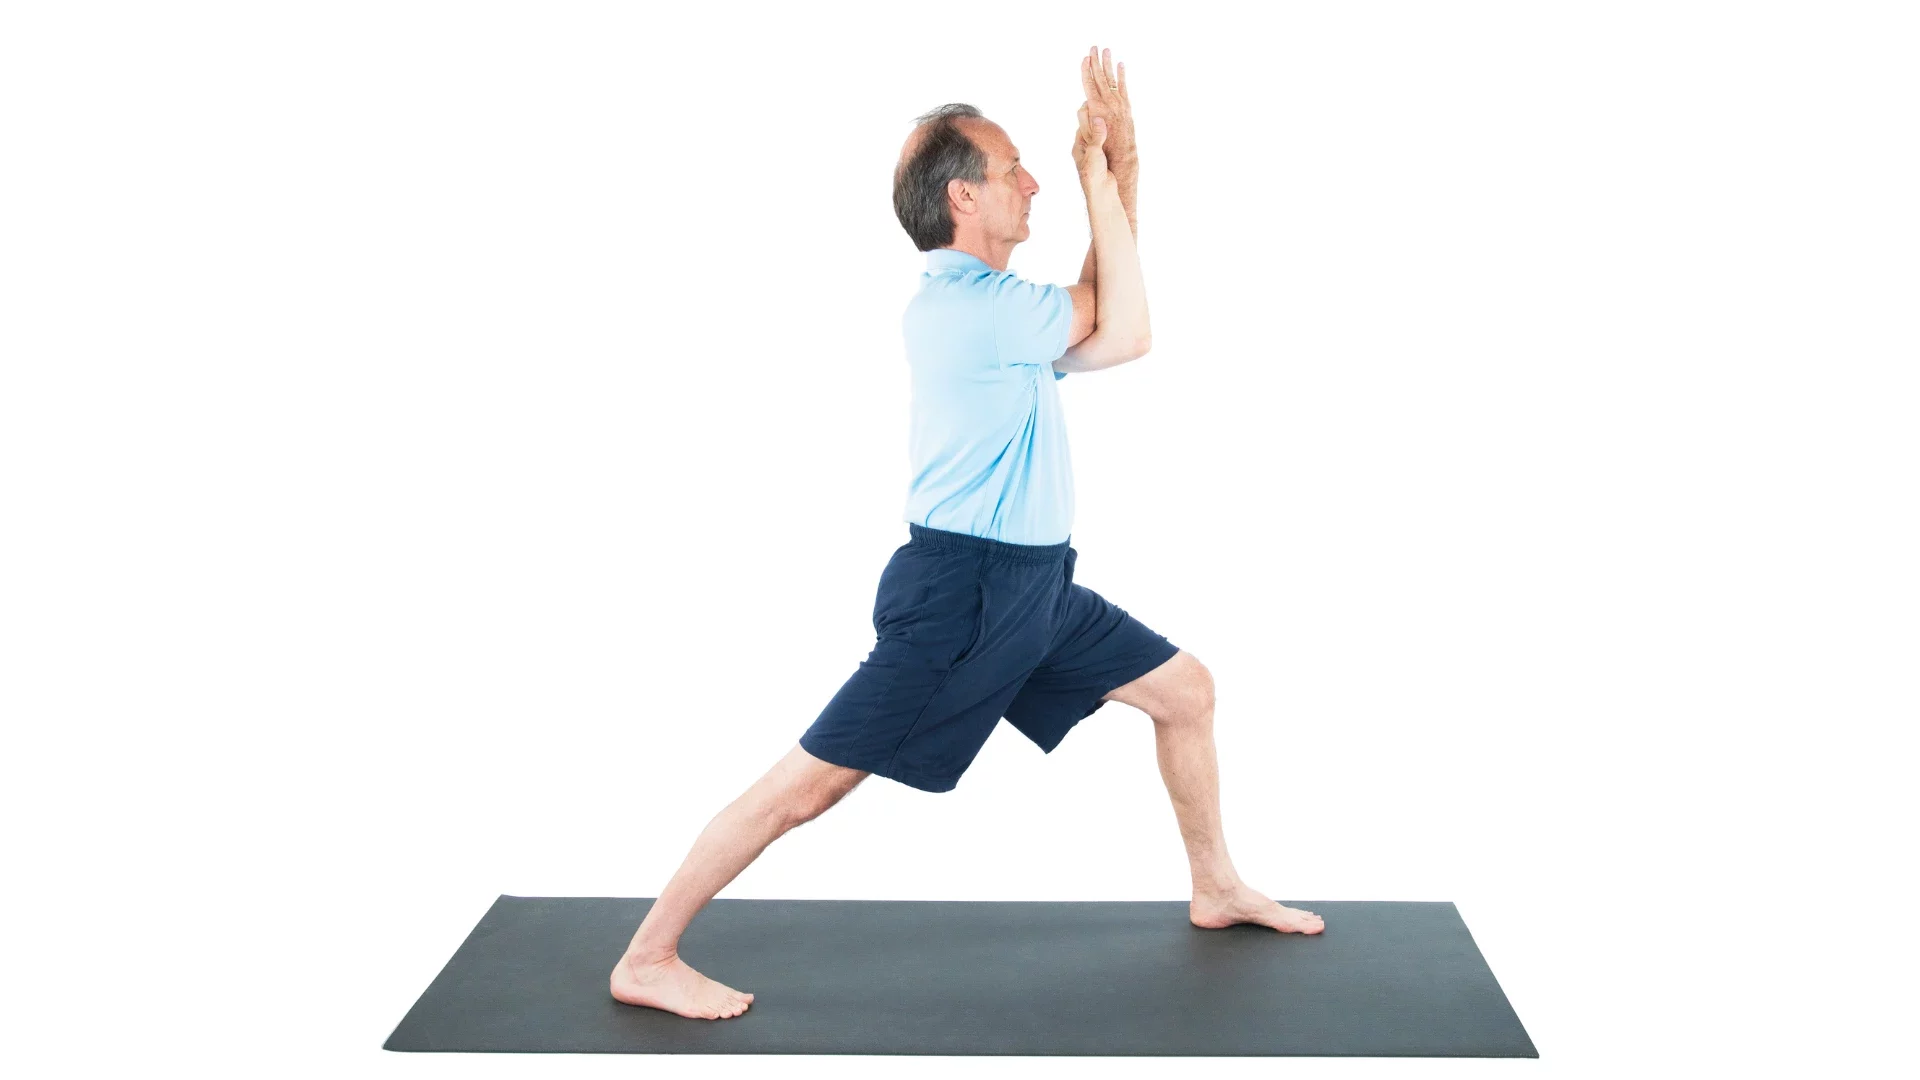
Warrior I (Virabhadrasana 1) is a demanding posture that builds a wealth of strength and flexibility within a stable structure. Combine the actions you’ve practiced in the above prep poses to fully express yourself.
1. Start in a high lunge with your right knee bent and left leg straight.
2. Press your right heel down to the floor.
3. Keep your feet' hipbone distance apart.
4. With your left foot pointing forward or only slightly turning outward, stretch your left heel toward the floor, lengthening the entire backside of the leg.
5. Bend your right knee so it is directly over your right ankle.
6. With your hands on the floor or blocks, inch your breastbone forward to lengthen your spine while staying in this folded position.
7. Place your hands on your hips.
8. Taking a few breaths, slowly lift your torso upright. Pause each time you come upright to firm your left heel down, lengthen your spine (on a diagonal), check in with your hip, and lift up a little more. By pausing frequently as you rise, you are better able to check in with your alignment and identify where possible discomforts are arising.
9. Once your torso is upright, lift your arms up overhead.
By dissecting Warrior I, I came to appreciate the intricacy of this pose and all its actions. By practicing this pose slowly, I found that I could move out of the areas where I was naturally flexible and gradually gained movement in tighter areas of my body. I had less pain in the pose and built more strength.
Eventually, I was practicing a pain-free Warrior I, something that I thought was impossible. If you have difficulty in Warrior I or avoid practicing it altogether, try developing these prep poses in your practice and then combine their actions into Warrior I. You may create a new relationship with Warrior I.