Struggle with Tight Hamstrings in Yoga? Try This Myofascial Release Trick

Is there such a thing as yoga magic? If you struggle with tight hamstrings, this five-minute myofascial yoga challenge might lead you to say yes. The effects can be startling the first time you try it.
What is The Hamstring Yoga Challenge?
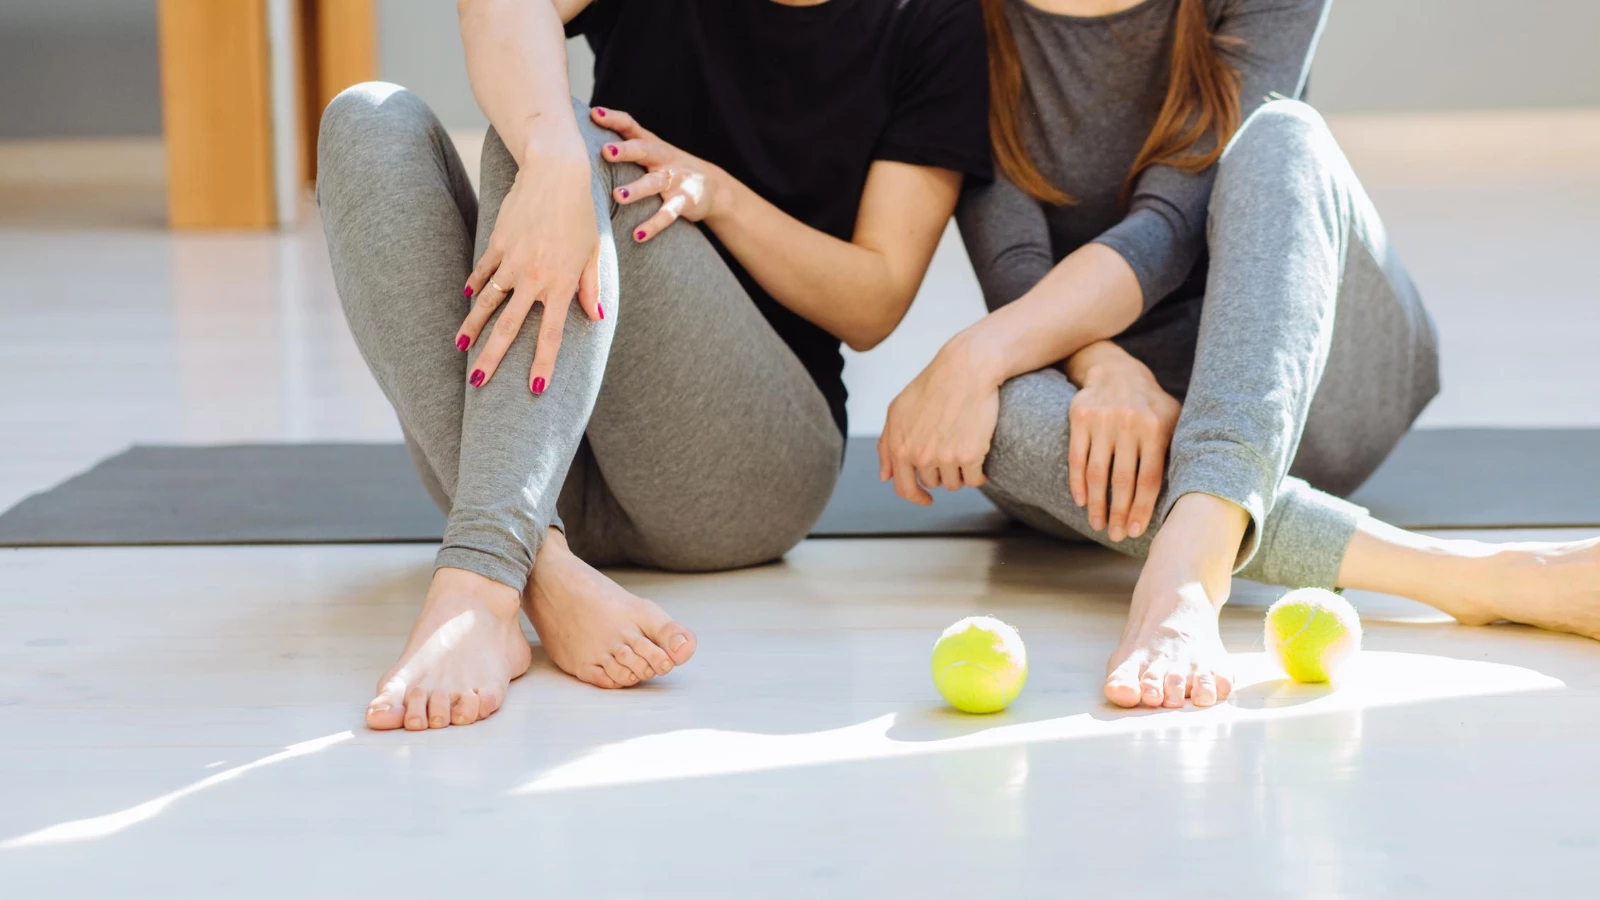
The hamstring yoga challenge is a simple five-minute myofascial technique that involves a tennis ball. Surprisingly, you will not be applying the tennis ball to your hamstrings directly, but placing the ball under your feet. By rolling out the soles of your feet you will notice an indirect impact on your hamstrings which makes this exercise seem to work like magic!
Continue to roll your feet daily for a week and some of that “shock of the new” will drop away. You’ll be left with livelier and more relaxed feet, and a new benchmark in hamstring flexibility—still enough of a change to call magic, considering that it’s achieved with a tennis ball and five minutes a day.
How Does This Myofascial Release Technique Work?
When you massage the soles of your feet, you loosen the starting point of a network of connective tissue that runs all the way up your back body to the crown of your head. So it stands to reason that massaging your feet can loosen your hamstrings.
Having a hard time imagining what that network of connective tissue would look like?
Tom Myers, author of Anatomy Trains: Myofascial Meridians for Manual and Movement Therapists, has posted a fascinating video from a human dissection showing the entire Superficial Back Line of fascia, connecting from the feet to just above the eyebrows. After you’ve seen this video, you will never feel the same about the distance between your feet and your head again.
How to Practice Myofascial Hamstring Release
- First, measure your hamstring flexibility. Come into a standing forward bend with your feet hips-distance apart. Press down into your feet, lift your front thighs and straighten your legs. Roll your front upper thighs in, and widen across your hamstrings.
- Unless you can easily bring your palms to the floor with your legs straight, use yoga blocks (or a stack of books or a handy step), to support your upper body. Make a note of how much height you need to place your palms flat, then roll up from your forward bend.
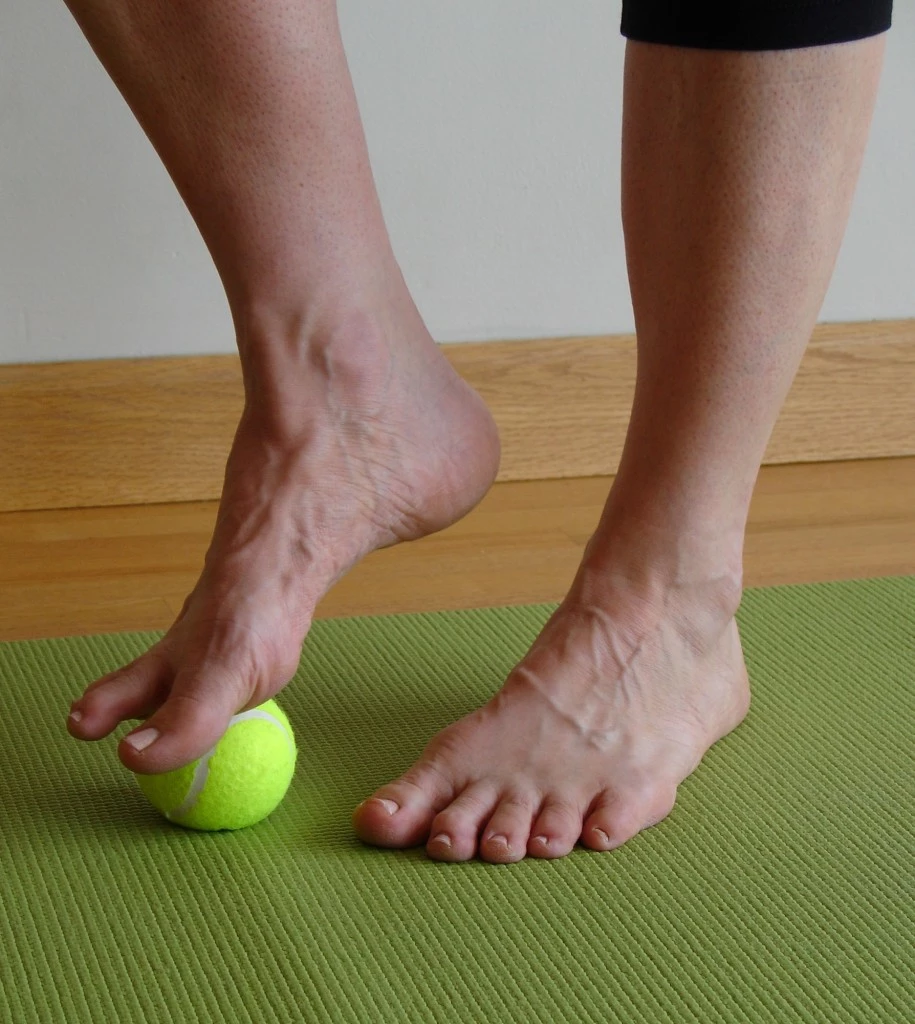
- Now stand in Tadasana (Mountain Pose) close to a wall on a yoga mat or carpet, with one hand on the wall for balance. Place a tennis ball under one foot and start to roll the sole of your foot over the tennis ball. Experiment with the amount of weight you can put into the ball and still feel an intense, yet pleasant, sensation.
- Drape your toes over the tennis ball and massage the backs of your toes. Then work your way down the sole of your foot, all the way back to your heel. Roll along the inner and outer arches.
- Keep rolling for at least two minutes—it helps to set a timer or watch a clock—and then move to your other foot. Take a moment in between sides to feel any differences between the two feet, legs and sides of the torso.
- Once you’ve worked both feet, revisit your forward bend. You may be surprised to find that—abracadabra!—your hamstrings have lengthened by as much as an inch or two.
Tennis Ball Yoga: Benefits and Cautions
Our feet become cramped and tense from wearing restrictive shoes and walking on hard surfaces. Regular ball rolling releases tension in the muscles and fascia. Since the fascial body is a web of connective tissue, a release in one part can trigger release in the entire web.
Especially welcome after a long walk, this exercise can be done any time, and almost anywhere. If you are free to take your shoes off when you sit to work, you can even keep a tennis ball under your desk and do impromptu rolling sessions while sitting down. Do it at the beginning of a longer practice to bring extra awareness to all of your poses.
If your feet are particularly sensitive, a tennis ball may initially feel too harsh. Find a softer, more forgiving ball, and work with it until your feet adapt. Then move on to a tennis ball.
Beware of excess enthusiasm. Stick with moderate pressure and a modest amount of time—two to four minutes per foot if you’re standing, 10 if you’re sitting down. It’s possible to hurt the muscles in your feet by rolling too much and too fiercely.
Also, read...
Love your Back With This Spine-Focused Yin Yoga Sequence
Upward Plank Pose: Wrist-Saving Variations
A Relaxing Yin Yoga Sequence at the Wall
Related courses
Yoga for Back Care and Spinal Mobility: A 4-Week Practice Series
The Psoas Connection: Core Stability for Movement, Breath & Digestion
Optimizing Your Breath: Yogic Breath for Cellular Vitality

Eve Johnson taught Iyengar Yoga for 18 years before being introduced to Spinefulness in 2016. Convinced by the logic, clarity, and effectiveness of Spinefulness alignment, she took the teacher training course and was certified in July 2018. Eve teaches Spineful Yoga over Zoom and offers an online Spinefulness Foundations course. For course information, go to http://spinefulness.ca.


