5 Steps to Finding Ease in Sukhasana – “Easy” Pose

Article At A Glance
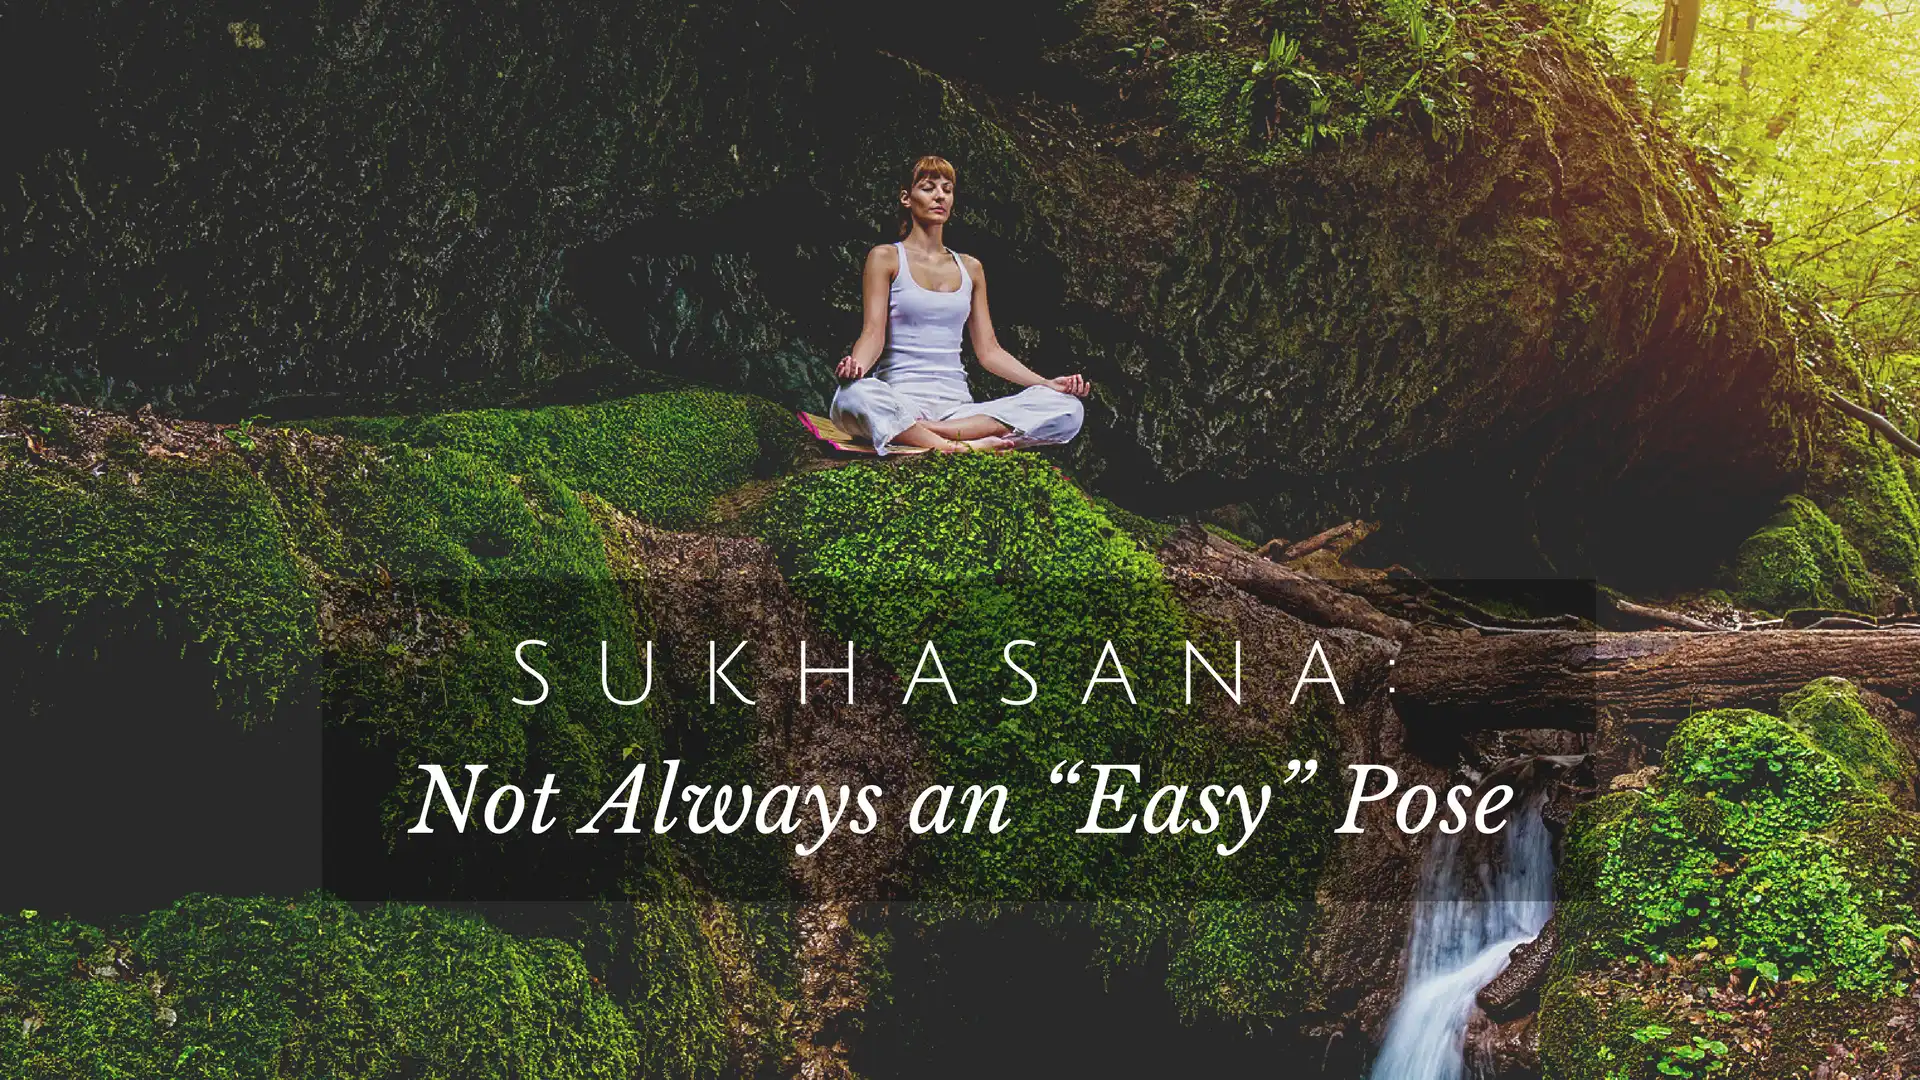
Sukhasana is often translated as “Easy Pose.” As anyone who’s practiced meditation likely knows, it is anything but easy when you sit in Sukhasana for any length of time. Sitting in Sukhasana for a long meditation requires the precise
physical refinement that comes from practicing all the yoga asanas. We think of Sukhasana not so much as an easy pose but as a pose of ease, a pose with a stable base that creates a tranquil ground for the mind to settle into silence.
Asana practice is meant to support the settling of the mind. The definition of yoga, according to Alistair Shearer’s translation of the Yoga Sutras of Patanjali, is “the settling of the mind into silence.” Some sutra scholars believe that asana was originally conceived as just the simple sitting posture for meditation, Sukhasana. All the other poses were developed to prepare the body for Sukhasana.
What is Sukhasana?
Sukhasana is often translated as “Easy Pose.” As anyone who’s practiced meditation likely knows, it is anything but easy when you sit in Sukhasana for any length of time. Sitting in Sukhasana for a long meditation requires the precise  physical refinement that comes from practicing all the yoga asanas. I like to think of Sukhasana not so much as an easy pose but as a pose of ease, a pose with a stable base that creates a tranquil ground for the mind to settle into silence.
For Sukhasana to be easy, we need to find a position that allows the spine to relax into its natural curves. Beginning at the bottom of the spine, the curves include the sacral curve (convex), the lumbar curve (concave), the thoracic curve (convex), and the cervical curve (concave). These curves form a giant “S” and are necessary for shock absorption and for optimal support of the head and rib cage. When these curves are straightened, we must employ extra muscular energy to hold our frames upright. This can tire us out, making Sukhasana a chore.
The key to maintaining your spinal curves in Sukhasana is ensuring you are sitting up high enough for your pelvis to tilt forward. This creates the sacral angle—an approximate 30-degree forward slant—that then allows all the other curves to fall into place. Even if you are very flexible, sitting on a stack of blankets or a meditation cushion is helpful if you plan to sit in Sukhasana for pranayama (breathing practices) or meditation practice.
Easy Pose (Sukhasana) in Five Steps

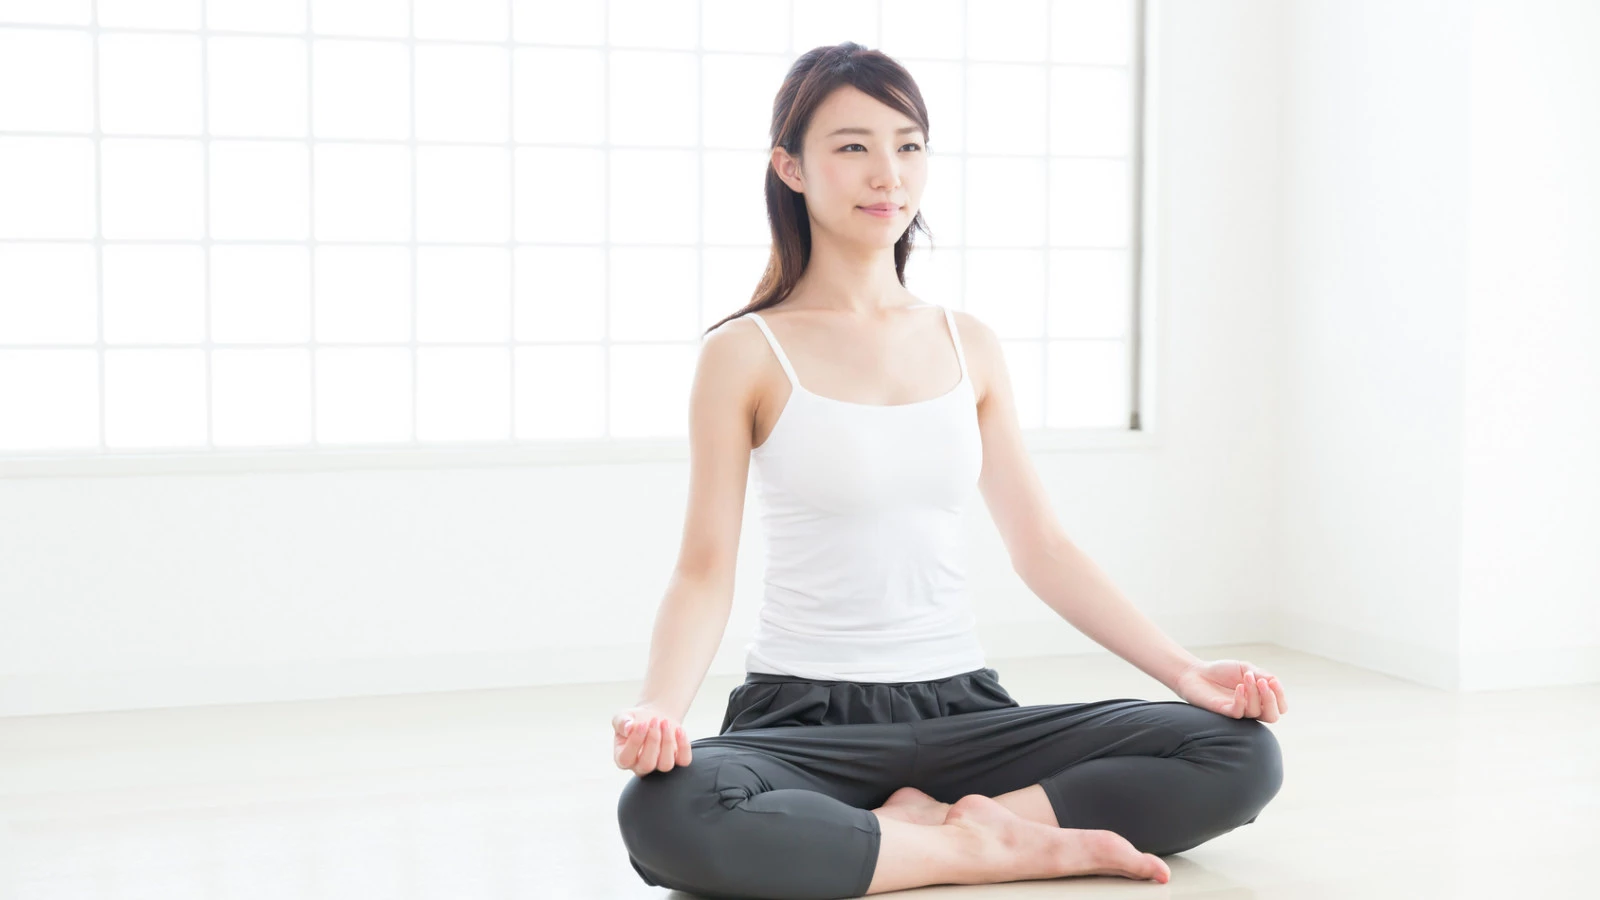
- Begin by stacking a few blankets (or setting up your meditation cushion). If I’m using blankets, I like to turn them so that I sit on a corner of the stack so that my thighs can easily hang off the edges.
- You may begin by crossing either leg in front of the other. Note which leg is in front, so you can switch your legs’ cross next time.
- If your knees are jutting up above your hipbones, you likely won’t want to sit in Sukhasana for long meditation or pranayama sessions. When your knees are elevated, your pelvis rolls back, flattening the lumbar curve. Try adding another blanket or cushion under your hips.
- Now slowly rock forward and back, allowing your pelvis to tilt gently forward and backward. Try to find your natural center in the pose, the place where your torso feels neutral. Feeling neutral is tricky, however, as neutral is a place of little sensation. It is always much easier to feel extremes, but because Sukhasana is meant to help us center and quiet our bodies for meditation, neutral is the optimum place to be.
- Here’s how I test whether or not I am in my neutral center: When you are centered in your body, when you press your sit bones down, you will feel a gentle rebound or lift up through your body.
Release Back Tension with Revolved Sukhasana (Revolved Easy Pose)

Practicing Sukhasana’s revolved variation can help prepare your back for sitting in Sukhasana. It also feels great after you’ve sat for a while.
- Sit in Sukhasana with your spine in neutral. Turn to the right, placing your left hand on the outside of your right knee.
- Allow your right ischial tuberosity (sit bone) to move back a bit as you turn so that your hips are not squared.
- Place your right hand on the floor behind your back and press gently into the floor to help lengthen your spine upward.
- As you inhale, feel your spine rising upward, and as you exhale, allow your spine to rotate a bit more.
- Allow your breath to guide you into the twist rather than using your left arm to force it.
- Turn your head in the direction of the twist, but not so far that you feel neck strain.
- Relax your eyes and your brain. Stay for 5 to 10 breaths.
- Repeat, twisting the opposite direction. Then cross your legs opposite and repeat the twist on both sides.
Also, read...
Change Your Perspective of Pelvic Tilting: How the Transversus Abdominis Can Help
4 Ways to Practice Locust Pose
5 Keys to Healthy Neck Alignment in Cobra Pose (Bhujangasana)
Related courses
Breath as Medicine: Yogic Breathing for Vital Aging
Yoga and Myofascial Release: Releasing Chronic Tension with the Bodymind Ballwork Method
Yoga and Detoxification: Tips for Stimulating Lymphatic Health

Charlotte Bell began practicing yoga in 1982 and began teaching in 1986. She was certified by B.K.S. Iyengar in 1989 following a trip to Pune. In 1986, she began practicing Insight Meditation with her mentors Pujari and Abhilasha Keays. Her asana classes blend mindfulness with physical movement. Charlotte writes a column for Catalyst Magazine and serves as editor for Yoga U Online. She is the author of two books: Mindful Yoga, Mindful Life, and Yoga for Meditators, both published by Rodmell Press. She also edits Hugger Mugger Yoga Products’ blog and is a founding board member for GreenTREE Yoga, a non-profit that brings yoga to underserved populations. A lifelong musician, she plays oboe and English horn in the Salt Lake Symphony and the folk sextet Red Rock Rondo whose 2010 PBS music special won two Emmys.


