Have you been in yoga class, plopped into Pigeon Pose (Kapotasana), and heard the instruction to flex your foot “to protect the knee?” When I first began practicing yoga, like a dutiful yogini, I followed my teacher’s instructions and diligently flexed my foot. But as I learned more about anatomy, I started to grow curious about this cue. After all, except for our hulky calf muscle, gastrocnemius, none of the muscles that cross the knee also cross the ankle. So how exactly was flexing the foot keeping my knee out of harm’s way?
Well, it wasn’t. Or at least not how I thought. To understand why let’s take a more in-depth look at the structure of the knee.
Yoga Anatomy: How the Knee Works
")
The knee is a modified hinge joint. This means that it essentially only moves in flexion and extension (like a door hinge). However, when we bend the knee, it has some capacity for rotation. You can try this: sit down and straighten your legs fully. Try to turn just your shin. Unless something is very wrong, you won’t be able to.
However, if you bend your knee, you can now turn your shin (tibia) relative to your thigh (femur). This rotational capacity of the knee is beneficial. Imagine jumping up and down a few times. I guarantee that your knee won’t track perfectly over your ankle every time you land! The capacity of the knee to turn when it’s bending gives us the necessary grace to jump and not break our joint. However, there can be consequences to this rotational capacity.
Protecting your Meniscus
The knee contains a unique structure called the meniscus. The meniscus is a c-shaped hard cartilaginous disc that sits on the tibia and helps to connect the femur and tibia during movement. Its sloping sides snuggle the femur onto the tibial plateau, and also help distribute weight and force through the joint.
When the knee is acting mostly like a hinge joint, the femur and tibia move functionally against each other, and the meniscus is happy. However, the meniscus can be damaged if we bend the knee (flex) and twist the shin. You can imagine this little c-shaped disc getting pinched between the two hard twisting surfaces.
Usually, this kind of meniscus tear is traumatic, with someone falling suddenly and inadvertently twisting their knee. However, in yoga, we are more likely to incur repetitive stress injuries, which develop when we repeat dysfunctional movements over time. When we bend the knee and twist the shin, we are in danger of creating a repetitive stress injury at our knee.
How-to Practice Tips: Yoga Hip Opener Poses and the Knees
")
One of the ways in which we can put the knee at risk is in hip openers. If our hips aren’t “open”—either because of natural joint structural variation or because we have stiffer connective tissue—we may try to force ourselves into the pose.
For example, in Lotus Pose (Padmasana), we externally rotate that thigh and then place the foot on our opposite thigh. And if our femur doesn’t externally rotate enough to get our foot on the thigh, we may twist our knee to get into the pose. So here we are: bending and twisting the knee to its maximum range, which is exactly how the meniscus can be injured.
A note about preserving your ankles, as well as your knees: The above photo shows how NOT to place your ankles if you want to preserve them. Notice how the outer ankle is stretching? The anterior talofibular ligament is the main ligament that keeps your ankle from inverting. Stretching the ankle like this—especially with pressure, as in the above photo—can overstretch that ligament, destabilizing your ankle. The foot should be all the way across the opposite thigh. The soles of your feet should not be pointing upward, but rather outward, away from the body. This requires a lot of external rotation in the hips that most people do not have. So Lotus Pose is not for everyone, at least if you want to preserve your ankles!
In my conservative, knee-loving opinion, the safest position for the knee is in its hinge. If we treat the knee as a hinge and resist the urge to take advantage of its rotational capacity, then we ensure that the meniscus remains in an ideal relationship between the tibia and femur.
When Flexing The Foot Is Helpful in Yoga Poses
")
First, let’s look at when flexing the foot is helpful.
Try this:
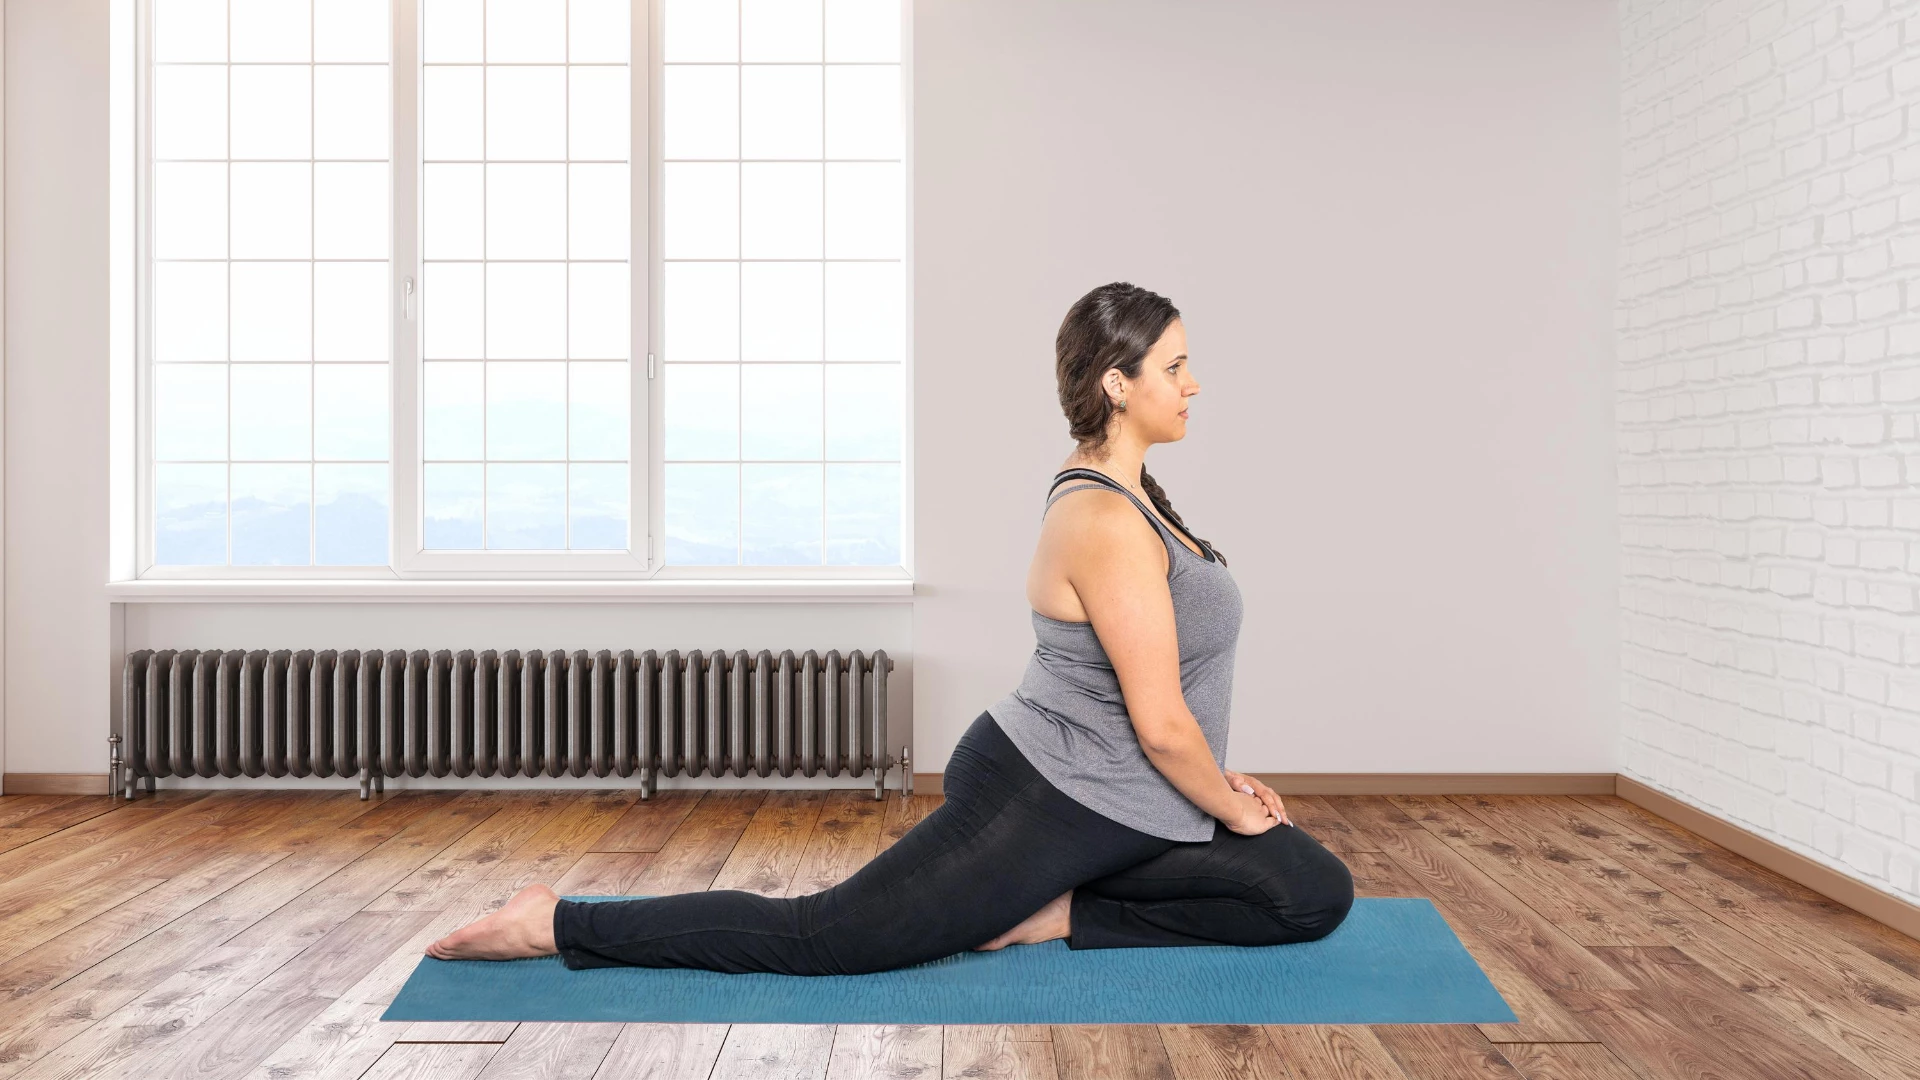
- Sit on your right buttock and place your right shin parallel to the front of your mat.
- First, consider: is your knee in a pure hinge position? If your right hip is on the floor, your right femur is pointed directly to the side, and your shin is pointed directly forward. So yes, your knee is in a happy hinge position. Good.
However, if you don’t flex the right foot and instead allow the right ankle to rest on the floor, then you create a bow shape through your lower leg.
To better see this imbalance, stand in Mountain Pose (Tadasana). Lift the inner edges of your feet off the floor so that your knees widen apart and your outer ankles bow out. Clearly, this position creates an imbalance through your legs. When are you seated on your right hip and let your shin sink to the floor, you are creating a similar shape. Therefore, when the shin is parallel to the front of the mat, flexing the foot can help you create even action through the lower leg.
When—and When Not to—Flex
We also can apply this principle in Fire Log Pose (Agnistambhasana), where it is also tempting to let the ankle collapse. Agnistambhasana requires substantial external rotation at the hip, which we can avoid by sickling the ankle. Flexing the foot creates even action through the ankle joint and helps us to target the rotation of our hip joints.
Flexing the foot can also be useful simply because it creates mindfulness. When we are lying on our backs in Reclining Half Pigeon Pose (Supta Ardha Kapotasana), it becomes tempting to tune out. Flexing the foot doesn’t really do much for the joint here (after all, the foot is generally positioned off the edge of the thigh), but it does serve to create a bit of sthira (steady) in an otherwise sukha (comfortable) pose. Also, flexing the foot may create a line of action through the connective tissue of the leg to help stretch the leg.
Now that we’ve looked at how flexing the foot can be helpful, let’s look at when it can actually cause problems.
Pigeon Pose Yoga Myth #1: You Should Place Your Shin Parallel to the Front of Your Yoga Mat
")
To understand why flexing the foot can be a problem, we must first examine our assumptions about the general form of Pigeon Pose.
Return for a moment to sitting on the floor, with your right butt anchored and your shin parallel to the front of the mat. This position is frequently cued as the general form for Pigeon. However, from this position, we often hear the cue, “square the hips.” However, “squaring the hips” in this position can be extremely problematic for the hip, sacroiliac, and knee joints. When you have one thigh in flexion and one thigh in extension (as you do in Pigeon), attempting to square the pelvis can asymmetrically stress the sacroiliac joint and impinge your hip joints. It will likely also torque your knee.
Here’s why.
When your starting position is with both your right buttock down and right shin parallel, your knee is in a pure hinge position with the femur pointed straight to the right and your shin facing forward. However, if you try to lift your buttock up and square your hips to the front of your mat, you will start to twist your knee.
Unless you have a remarkable capacity for external rotation at the hip, trying to square your hips forward will start to turn your femur in. Since your shin is anchored on the floor (and can’t move), your femur will lift and start to internally rotate. You can see this happen as your yoga pants start to bunch up at your right inner knee.
The Knee in Pigeon Pose
Since the point of upright Pigeon is to stretch the hip flexors of the back leg rather than stretch the external rotators of the front hip, there’s no benefit to having your shin parallel anyway! (You only start to stretch the outside of the hip if you bend forward.)
Given the problematic nature of placing the shin parallel to the front of the mat for most students, I propose that your general form for upright Pigeon Pose should be with the front shin in a 45-degree angle. If your right shin is forward at this angle, your right heel will be by your left hip point, with the hips lifted, adductors strongly engaged.
With your shin at a 45-degree angle, your right femur externally rotates only about 45 degrees, a far more accessible range of motion for most of us than to try to externally rotate it fully out to 90 degrees. You can also lift your torso higher out of the pose and lengthen your tailbone down without fear of compromising your knee. Is your knee in a pure hinge position? Yes. As long as you don’t flex the ankle.
This leads us to….
Pigeon Pose Yoga Myth #2: Flex the Foot to Protect the Knee
")
If you have your shin in a 45-degree angle on the floor and you start to flex your ankle, you will take your knee out of its hinge position. When you flex your ankle, the top of your foot hits the floor and the shin twists to accommodate.
Instead of flexing the foot, keep your foot pointed, but press the top of the foot down firmly to engage the muscles of your foot and ankle. You will create more power through your foundation while keeping your knee happy and in a hinge position.
Final Thoughts for Knee Safety in Yoga Practice
Yoga practice is about longevity. While twisting our knee is not always a bad thing (indeed, we rely on it daily!), we want to incorporate best practices in asana that protect the health of our bones and joints for the long haul.
As you continue to explore, pay attention to how you are stabilizing your ankle and knee, particularly in hip openers. By incorporating the principle “treat your knee like a pure hinge joint” into your practice, not only will you protect your knee, you will also avoid the “cheats” that may be keeping you from exploring a deeper stretch in your hips.

Rachel helps yoga teachers and studios around the world create transformational educational experiences so that they can thrive in their business, share their passion, and inspire more people to practice yoga. Her experience includes earning two master's degrees, authoring five books, leading over twenty 200-hour teacher trainings, building a teacher training department for a national yoga studio, and working in yoga studio management for more than fifteen years. She combines her extensive practical experience with her academic expertise (Masters in Instructional Systems and Learning Technology) to help yoga teachers and studios develop quality, transformational in-person and online educational programs.
As a yoga expert, she has written for periodicals such as Yoga International and the Huffington Post, made guest appearances on CTV, Breakfast Television, and numerous podcasts, and presented at venues such as Wanderlust, the Omega Institute, and international yoga conferences. She exuberantly shares her knowledge through her blog, coaching, YouTube channel, online courses, and free online classes. Find her at rachelyoga.com or on social media at rachelscottyoga.

