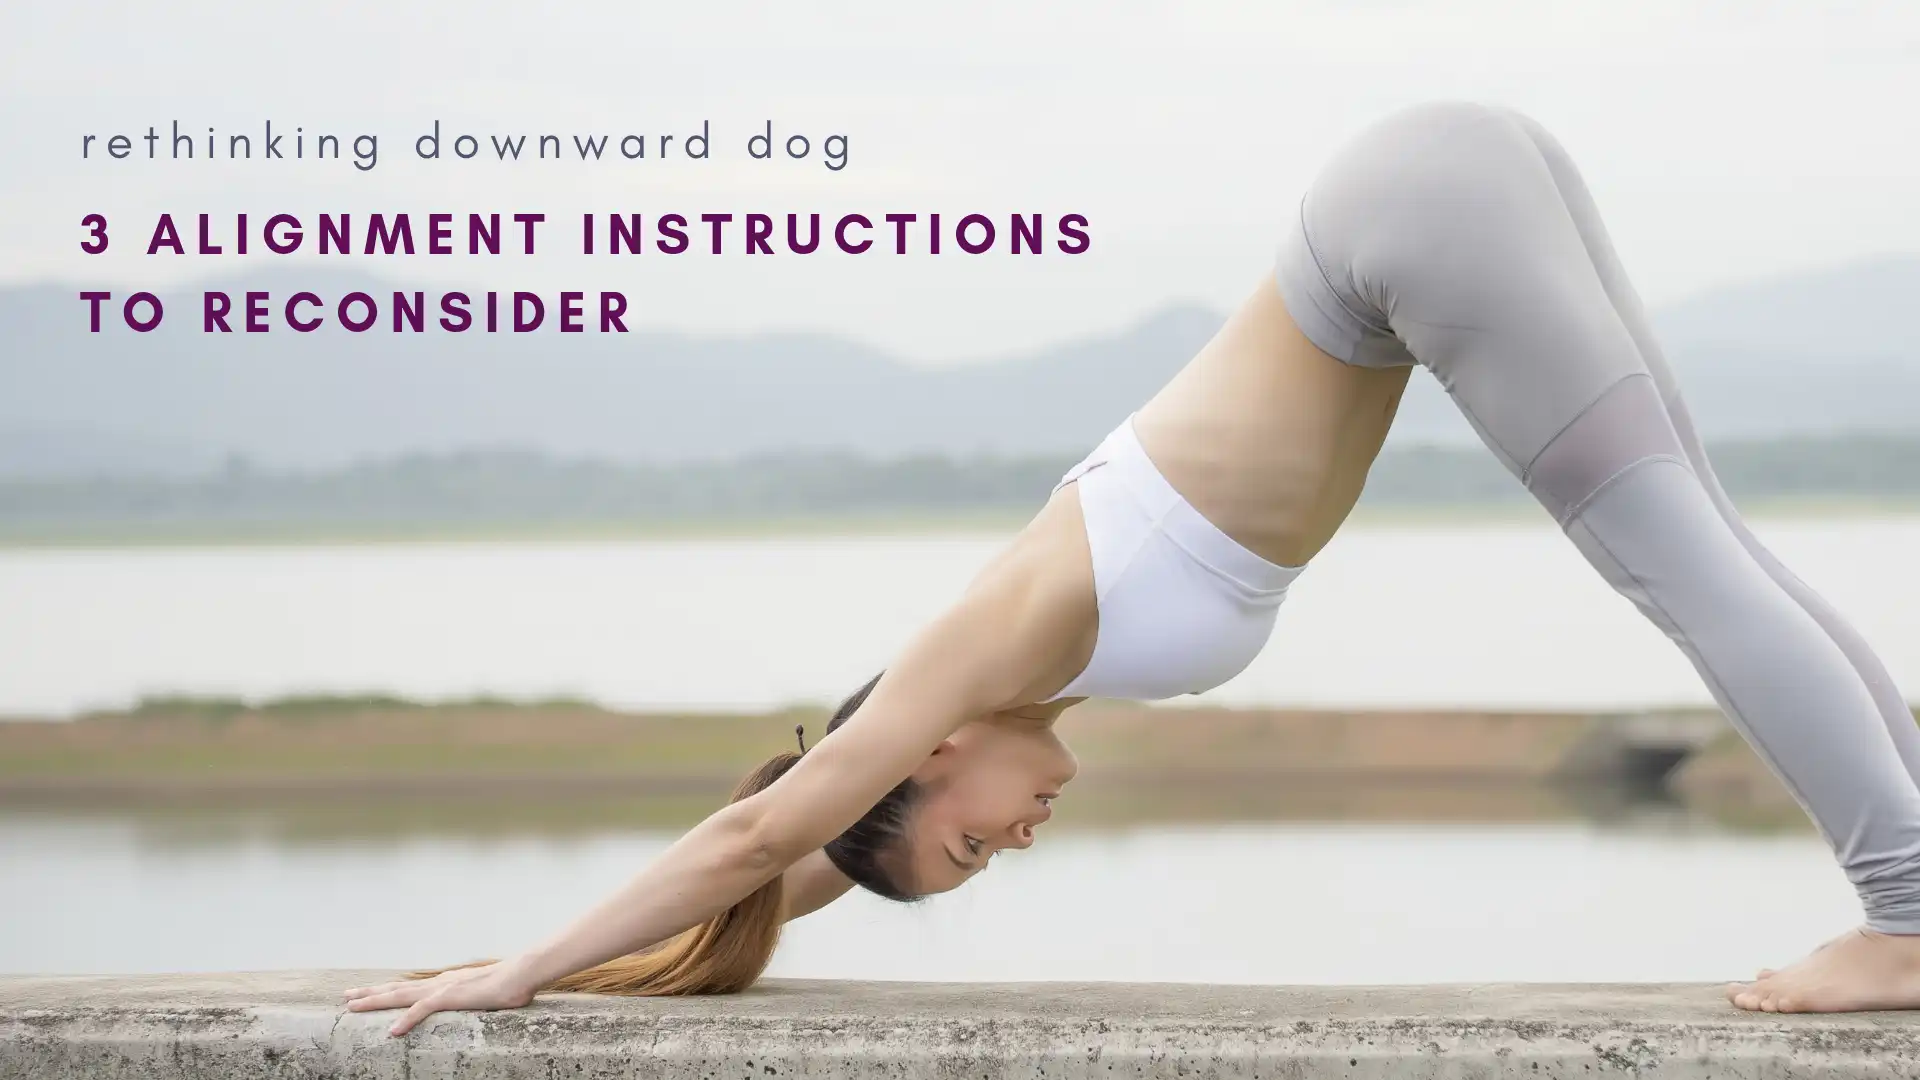
Adho Mukha Svanasana (Downward-Facing Dog Pose) is a fairly complicated, physically demanding pose that requires full body participation and asks a lot from the various joint structures involved.
For the most part, students tend to simply struggle through the pose, never really understanding what they’re “supposed” to be doing, experiencing or feeling in Downward-Facing Dog Pose, meanwhile, attempting to follow the teacher’s myriad of alignment instructions.
Alignment instructions often give the impression that there’s an absolute right (and wrong!) way to do Adho Mukha Svanasana, implying there’s something to gain from doing the pose perfectly when there isn’t. There’s only the way that works best for your unique structure each moment on the mat.
Wouldn’t it be worth exploring (or allowing your students to explore) different ways of doing Downward-Facing Dog Pose? To find the shape of the pose that best serves you and your body?
In order to do so, you’ve got to be willing to move out of the box that postural alignment tends to put yoga students in. Downward-Facing Dog Pose is not a one-size fits all.
3 Common Downward-Facing Dog Pose Alignment Instructions to Reconsider 
To start exploring the pose for yourself, here are three common alignment instructions that you may want to consider throwing out in Adho Mukha Svanasana (and begin trying on more personal variations):
1. Hands shoulders-distance apart with your wrist creases parallel to the front edge of the mat is how many teachers (including myself) instruct their students to set up their foundation for Downward-Facing Dog Pose.
However, this set of alignment instructions fails to consider that almost every single one of us has what’s known as a carrying angle in our elbows (generally 5 to 15 degrees) that prevents our arms for extending perfectly straight. (When your upper arms are parallel, next to the sides of your body with your palms facing forward, your forearms should angle 5 to 15 degrees away from your body, allowing your hands and forearms to clear the width of your hips. This is the carrying angle.)
When the hands are placed directly under the shoulders in Downward-Facing Dog Pose then, the elbows angle in toward one another internally rotating the shoulders (whereas shoulders in a neutral position better support the entirety of the spine).
The truth is that most students will be able to find more stability, and mobility, placing their hands wider than their shoulders, aligning their elbows rather than hands underneath their shoulders, and turning their hands out slightly (depending on the degree of each elbow’s carrying angle).
The next time you come into Downward-Facing Dog Pose pause in Bharmanasana (Tabletop Pose), take a look at your elbows when your hands are directly beneath your shoulders. You may notice your elbows look funny or angle in beneath your chest. Your carrying angles may or may not be very pronounced (the majority of us have a slight angle), and chances are one elbow has more of a carrying angle than the other.
Then play with taking your hands wider until your elbows are in line with your shoulders, as well as turning the hands out little by little until you feel as though you can easily anchor down through all sides of your palms and there are no odd sensations in your wrists, elbows, or shoulders as you move from all fours to Downward-Facing Dog Pose.
2. Let your head hang heavy, release the crown of your head for the floor or gaze back between your feet have been the longstanding cues for head and neck position in Downward-Facing Dog Pose. However, more neck flexion is the last thing our tech-oriented society needs. Think about how much time we spend looking down at our electronic devices, so much so that we even have a term for it. It’s called tech-neck. Hanging our heads has become habitual, and the muscles along the back of our neck that hold our heads up are becoming weak. We don’t need to come to our mats and reinforce more of the same.
Plus, the instruction to release the head for the floor invites the arms, shoulders, and spine to sink toward the floor, totally destabilizing the spine and shoulders. In that case, Downward-Facing Dog Pose begins to take on the shape of an upper-body backbend when the spine is meant to be more neutral. When you collapse through your shoulders, the low back often flexes upward, adding to your spinal misalignment.
To combat the total collapse of the upper body, you’ll often hear teachers instruct their students to lift their shoulders up, away from the floor, firm their outer upper arms in and bring their ears in line with their biceps (as I often did), which is still a big ask for some students’ shoulders and necks.
I now invite my students to find the most appropriate position for their head by bringing their neck in line with the rest of their spine (looking for their personal neutral) and playing with where their neck feels best. For students with tighter necks and shoulders, which is to say the majority of the general population, that often means that their ears will be slightly forward of their arm bones and their gaze out instead of back toward their toes—unless that causes an uncomfortable sensation in the neck and shoulders. Then perhaps looking down would be best.
Try noticing the shape of your spine the next time you’re in Downward-Facing Dog Pose, and play with lifting up a little through the back of your head and bringing your neck into line with the rest of your spine. Then explore the head position that feels right for your personal structure.
3. Heels to the floor is one of those instructions that students have confused with the point of the pose, so much so that that they will force their heels to the floor at all costs to their ankles, knees and low back. Yet it is perhaps the most arbitrary instruction repeated in Downward-Facing Dog Pose.
For starters, getting heels down to the floor in Downward-Facing Dog Pose requires the ankles to flex to 45 degrees when the average range is only 20 degrees. Students are often relieved to discover that it’s the shape of their ankle joint not their hamstrings preventing them from being able to place their heels on the floor in Downward-Facing Dog Pose, and if they keep forcing they are only going to further compress the front of their ankles.
It’s a bone and joint structure issue, and not something that’s wise to mess with. You could stretch your hamstrings and calves to oblivion and your heels may still never touch the floor in Downward-Facing Dog Pose.
Furthermore, jamming the knees back and forcibly pressing the heels toward the floor has a significant impact on the spine. Rather than dropping your heels for the floor, try keeping your knees bent and lifting your heels up. This will keep the backs of your legs active (something to focus on) and help you maintain a more neutral spine.
More Yoga practice tips for Downward-Facing Dog Pose-Online Yoga Teacher Ed: Dr. Ray Long on Stabilizing the Shoulder in Downward-Facing Dog.
 Meagan McCrary is an experienced yoga teacher (E-RYT 500) and writer with a passion for helping people find more comfort, clarity, compassion and joy on the mat and in their lives. She is the author of Pick Your Yoga Practice: Exploring and Understanding Different Styles of Yoga, a comprehensive encyclopedia of prominent yoga styles, including each system’s teaching methodology, elements of practice, philosophical and spiritual underpinnings, class structure, physical exertion and personal attention. Currently living in Los Angeles, Meagan teaches at the various Equinox Sports Clubs, works privately with clients and leads retreats internationally. You can find her blog, teaching schedule and latest offerings at www.MeaganMcCrary.com.

