
HOW TO PRACTICE Bridge Pose IN YOGA (Setu Bandha Sarvangasana)
Benefits, How to Instructions, Modifications, and Common Alignment Mistakes for Bridge Pose
Bridge Pose (Sanskrit name: Setu Bandha Sarvangasana) is a great way to counteract the many hours of sitting many of us do in our daily lives. Sitting for long periods shortens the quadriceps and deep hip flexors in the front body, while weakening the hamstrings, glutes and erector spinae muscles in back. This can cause chronic back pain and wreak havoc on posture.
One solution to this problem is to stretch what needs to be stretched, while at the same time creating strength where needed. Setu Bandha Sarvangasana does just that. The yoga pose also offers the added bonus of expanding the chest and strengthening the upper back—the perfect counter to the modern-day “slumpasana!”
There are multiple ways to adapt Bridge Pose to make it adaptable for many body types. This multi-tasking pose can also be adjusted, depending on the intention of the yoga practitioner. It can be a strengthening move for glutes and hamstrings in one instance, and then adapted to make a beautiful restorative yoga posture, in another. In other words, Bridge Pose can be used both in the morning as a way to become more energized, and again at day’s end to relax and release tension.
Setu Bandha Sarvangasana is translated as Bridge Pose, but more specifically it refers to all of your limbs forming a bridge. With your limbs and torso you are making a bridge with your body. This asana also acts as a bridge in other ways, connecting you to a larger body of yoga poses that require similar alignment and actions in the hips, legs, and upper body. So, Setu Bandha Sarvangasana establishes important yoga alignment actions that help you prepare for other poses later on, especially Urdhva Dhanurasana (Full Wheel or Upward Bow Pose) and Salamba Sarvangasana (Supported Shoulderstand).
Benefits of Bridge Pose
Along with the benefits listed above, Setu Bandha Sarvangasana also strengthens the entire lower body: the buttocks, the hamstrings, the ankles and calves, and the inner thighs (adductor muscles). All backbend yoga poses are at least somewhat energizing, and Bridge Pose falls into this category: it uplifts the mood and promotes healthy circulation. It can even help alleviate stress. Overall, Bridge Pose is a fairly accessible backbend posture for most bodies, and with a few props and modifications, it can also be a wonderful restorative retreat. When practiced with deep belly breathing, this asana can massage and stimulate the abdomen and help with digestion and elimination. Some also say it helps alleviate symptoms of menopause.
Basic Bridge Pose
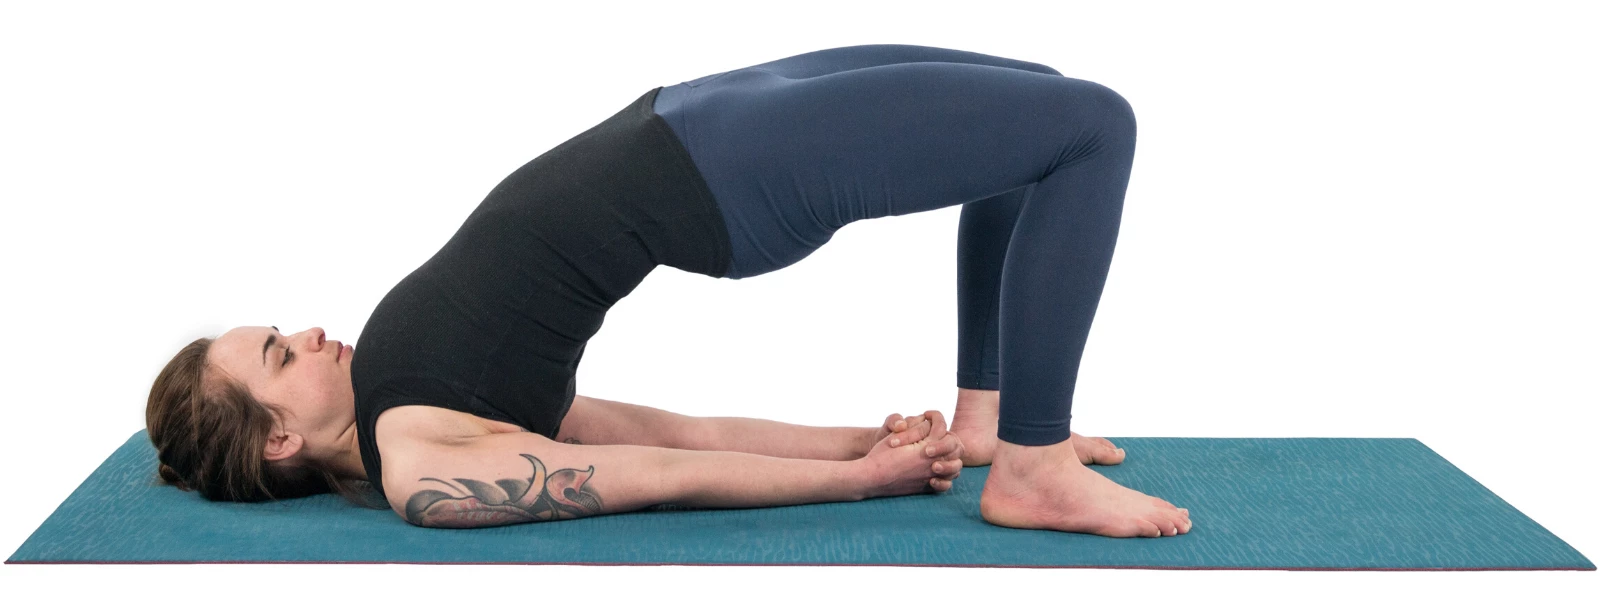
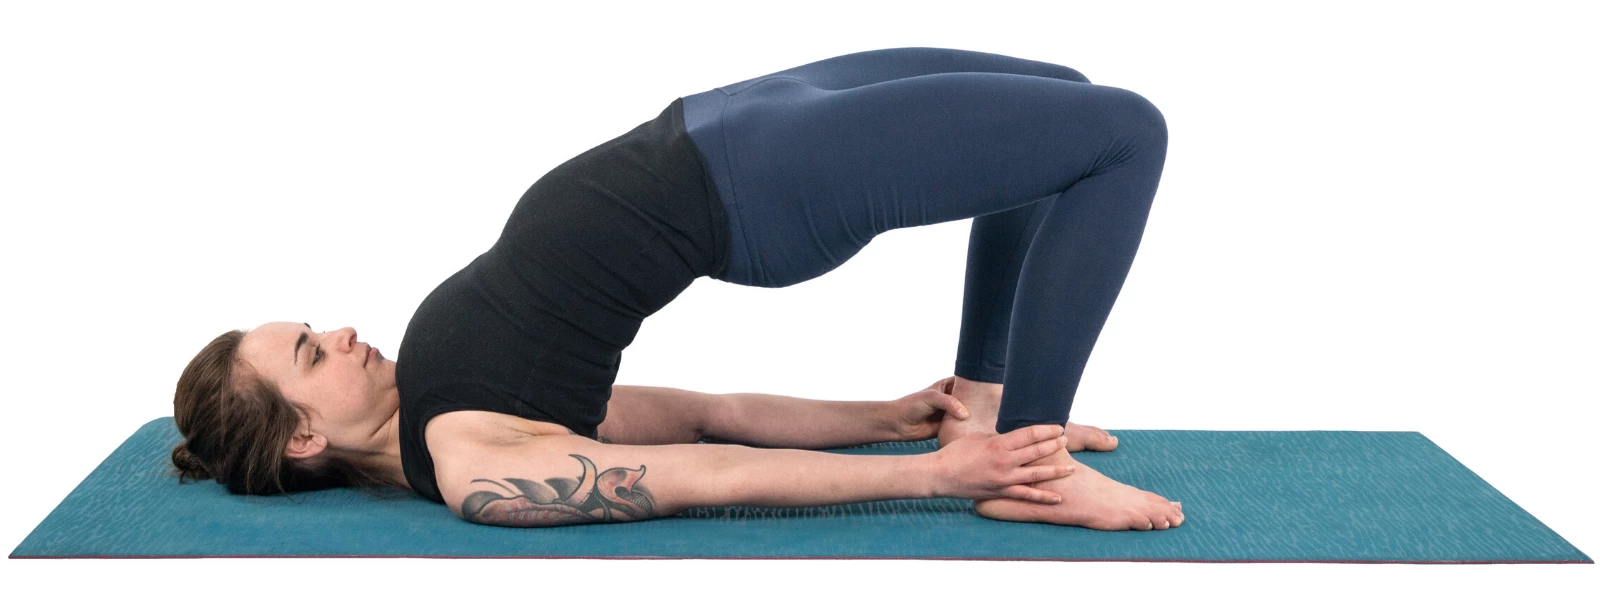
It is important when setting up for Bridge Pose that the feet stay under the knees, and that the knees don’t splay out to the side. Oftentimes as yoga students move into Setu Bandha Sarvangasana, they engage the glute muscles too much (i.e. they tend to squeeze the butt). The problem with this is that the glutes are external rotators of the hips, which means they open the legs out to the side, which in turn compresses the sacrum. It can be risky to do a backbend pose when your sacrum is in that compressed position.
- Gather your props: a yoga mat and two yoga blocks. Set the blocks close by, next to your mat, where you can easily reach them.
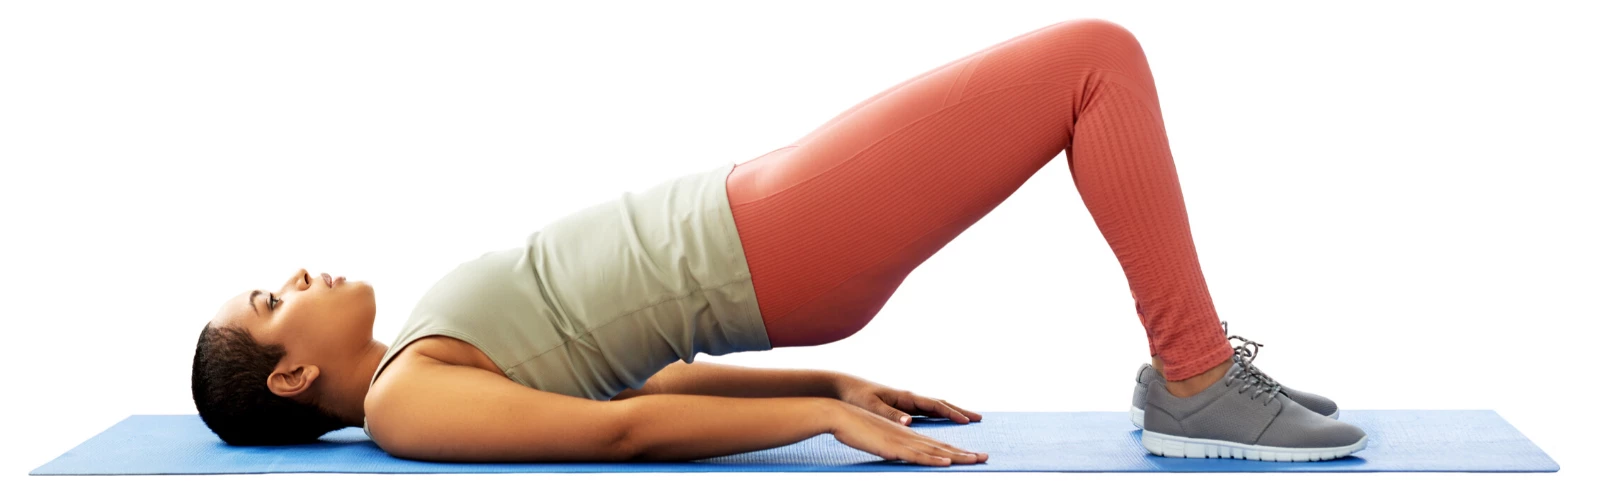
- Start by lying on your back on your yoga mat, and bend your knees enough so your feet are flat on the ground. Your heels should be close to your hips, but they do not need to be touching them.
- Place a block in between your feet in its flattest position. It should be narrow so that it is long in between your feet. (This will separate your feet about six inches apart.) Your big toes will touch the yoga block, but your heels will be slightly away from the block. This ensures that your feet are parallel with the sides of the mat.
- Now place your second block in its narrowest position in between your thighs (close to your knees). You may have to play around with the placement of the yoga block here. It should keep your knees right over your ankles, not pushing them out to the side.
- Now place your arms next to your sides so that your palms are facing the ceiling; roll from your inner arms to your outer arms.
- On an exhalation, press down into your feet. On the next inhalation lift your hips toward the ceiling, extending your knees outward from your hips.
- Press into the block with your legs, and make sure the knees are right over the heels. Try to release the buttocks as much as possible, and focus on engaging the hamstrings instead.
- To find the hamstring engagement, act as though you were going to draw your heels back toward your hips (without actually moving them). As you do this you should feel the backs of the legs activate.
- Now that you are in Setu Bandha Sarvangasana, start to draw the shoulders closer together. Make sure your shoulders draw down away from your ears; just walk them toward the center of your yoga mat. If you can reach, interlace your hands under your back. (You can also use a yoga strap to help if you can’t quite reach.)
- Make sure you don’t flatten out your neck; maintain the natural curve in your cervical spine.
- Keep engaging the hamstrings by focusing on drawing the heels (isometrically) toward your hips.
- Now lift your chest and sternum up toward your chin. At the same time lengthen the front of your neck by drawing your chin away from your chest.
- Take a few more breaths at the peak of this yoga asana.
- On an exhalation, slowly lower your spine back down to the mat.
- Take a moment to breathe while resting on your back. Keep the yoga blocks in place, and repeat the whole process again.
- Focus on lifting your hips even higher the second time around.
